How to Sand Wood Properly for a Smooth Finish
Sanding may not be the most exciting part of woodworking, but it can make a dramatic difference in the final appearance of a project.
A carefully built table can still look unfinished if the surface is rough, scratched, or covered in uneven edges. Learning how to sand wood properly is therefore one of the most useful skills a beginner woodworker can develop — and it pairs directly with the essential woodworking tools every beginner should own.
Start With the Right Sandpaper
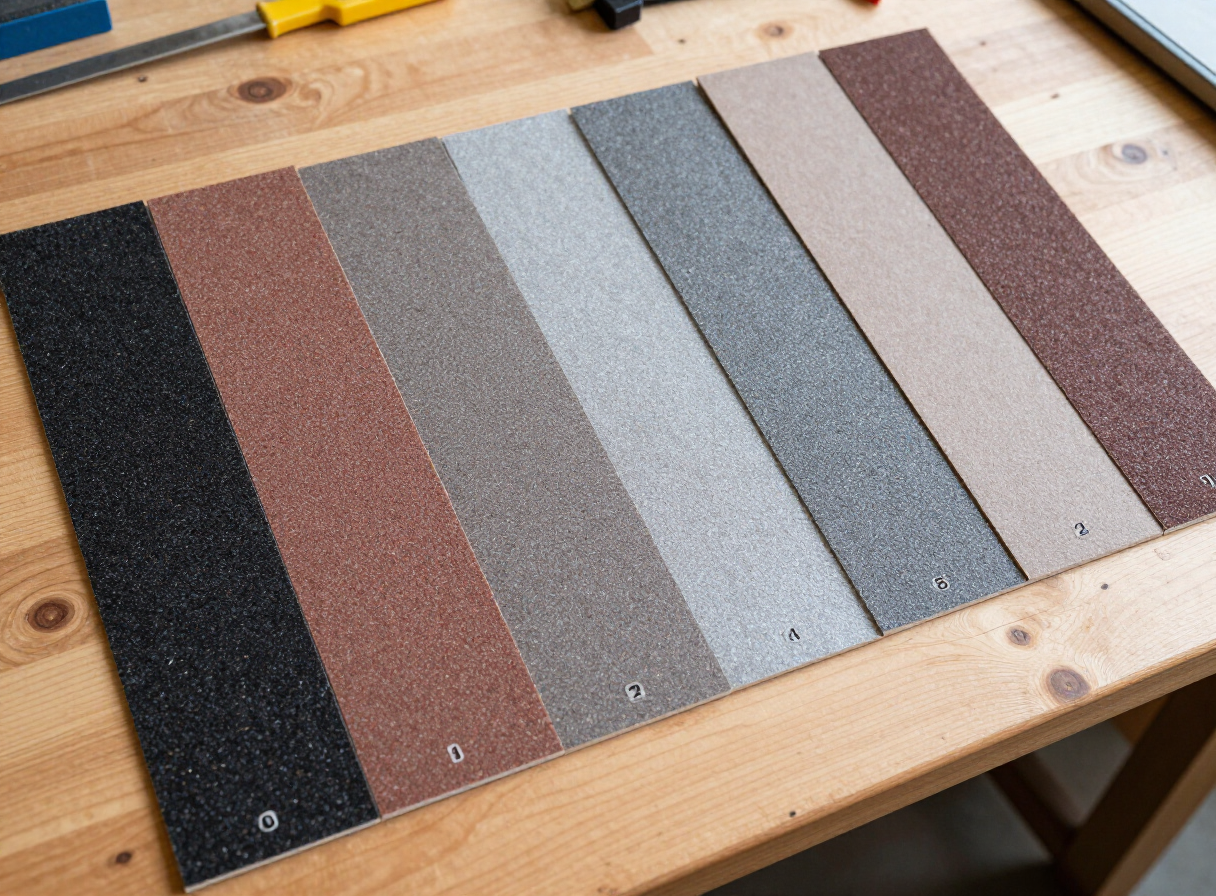
Sandpaper is available in different grits. Lower numbers are generally more aggressive, while higher numbers produce finer surfaces. The appropriate starting grit depends on the condition of the wood — and on the species you chose, since softer woods like pine scratch more easily than dense hardwoods.
If the surface has deep scratches or significant roughness, you may need to start with a coarser abrasive. If the wood is already relatively smooth, starting too aggressively can create unnecessary work.
Don't Skip Grits Without a Reason
A common approach is to progress from a coarser grit to medium and then finer grits. Each stage should remove the scratches created by the previous stage.
There's little benefit in jumping immediately from a very coarse abrasive to an extremely fine one if the deeper scratches remain. For a deeper reference on abrasive grit standards, the Wood Database is a trusted, high-authority resource that explains sandpaper grades alongside the wood species you are working with.
Sand With the Grain
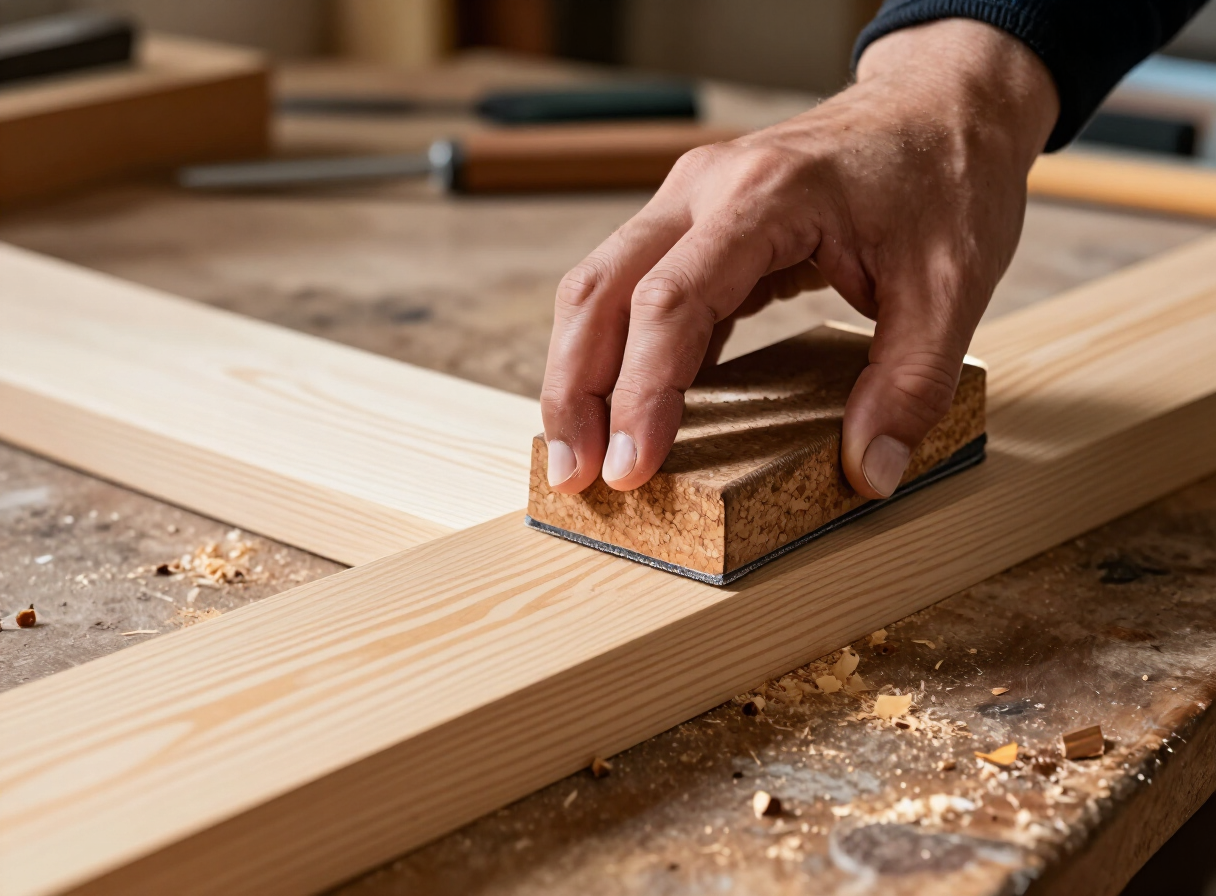
When hand sanding, working with the direction of the wood grain generally helps reduce visible scratches. Cross-grain scratches can become particularly noticeable after finishing.
Use a Sanding Block
A sanding block helps distribute pressure more evenly. Without one, it is easy to create uneven spots by pressing too hard with your fingers. For flat surfaces, a sanding block or appropriate sanding tool can produce more consistent results.
- A cork or rubber block keeps the abrasive flat
- It prevents finger grooves from forming in softwoods
- It extends the life of each sandpaper sheet
- It produces a more uniform surface for finishing
Don't Press Too Hard
More pressure does not necessarily mean better sanding. Let the abrasive do the work. Excessive pressure can create uneven surfaces and wear the abrasive prematurely — one of the common woodworking mistakes beginners should avoid.
Be Careful With Power Sanders
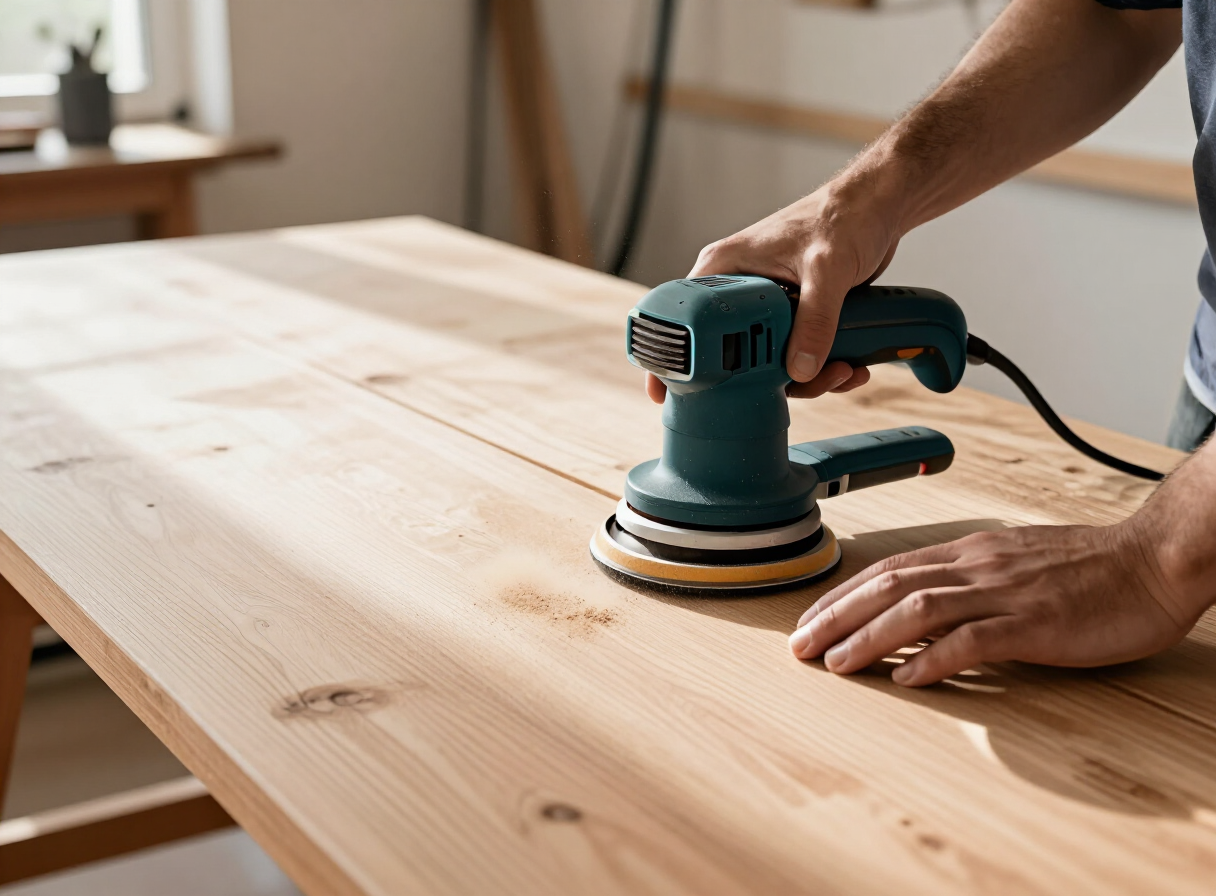
An orbital sander can dramatically speed up sanding, especially on larger surfaces. However, power sanders can remove material quickly. Keep the tool moving and avoid concentrating on one location for too long.
Clean Between Sanding Stages
Remove sanding dust before moving to the next stage. Dust left on the surface can interfere with your ability to see scratches and imperfections. A clean surface makes inspection easier — and a tack cloth or shop vacuum works far better than a quick brush-off.
Check the Wood From Different Angles
Don't inspect the surface from only one position. Move around the project and look at it under different lighting conditions. Scratches and uneven areas can become more obvious when light hits the surface from a different angle.
Sand Before Assembly When Appropriate
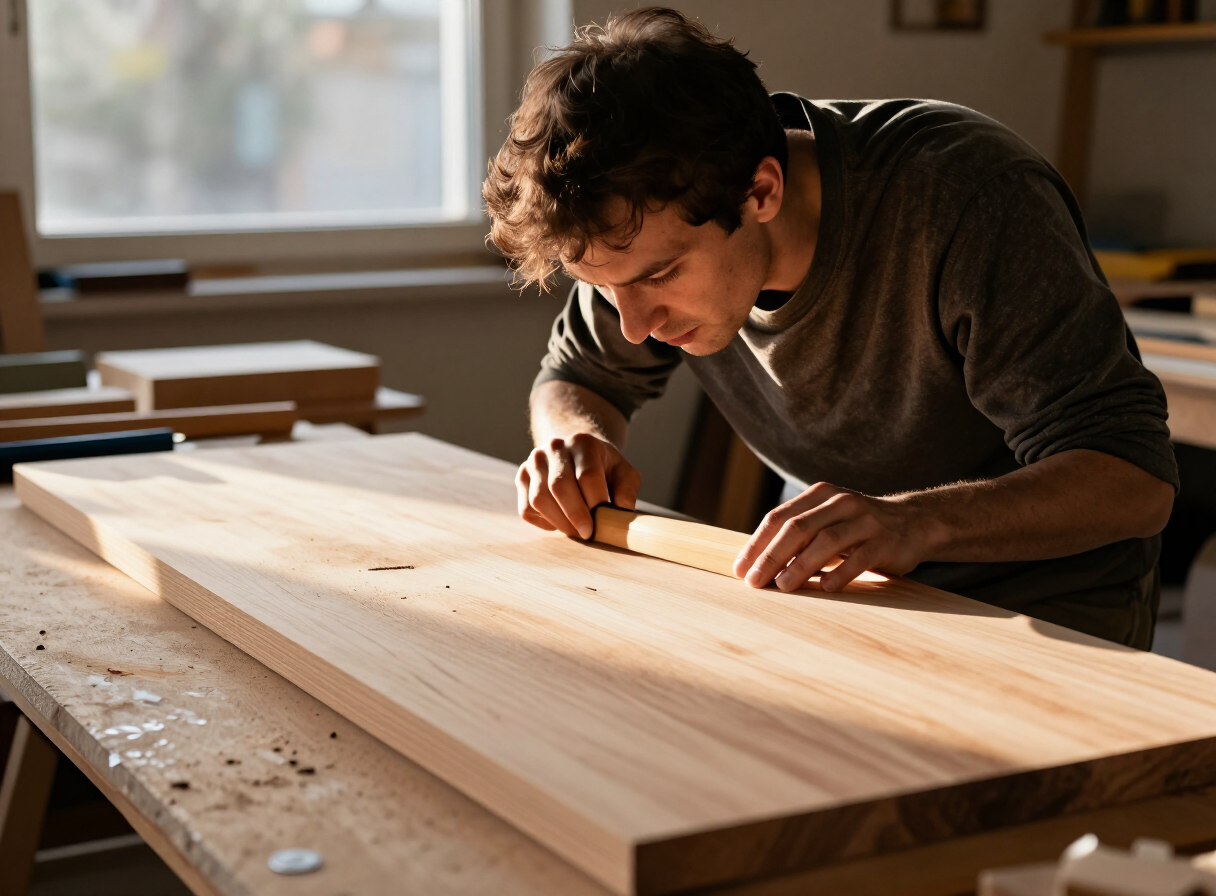
Some pieces are easier to sand before they are assembled. If two components will create a difficult-to-reach corner, consider sanding the surfaces before assembly. This is especially true for the inside faces of DIY wooden furniture, where panels meet at tight joints.
However, avoid sanding areas that need precise dimensions without accounting for the material you are removing.
Prepare Before Finishing
Your finish will not magically hide poor preparation. In many cases, finishing products can actually make scratches more visible. Take your time during surface preparation — the experts at Fine Woodworking consistently emphasize that surface prep, not the finish itself, is what separates a professional-looking result from an amateur one.
Once the surface is properly prepared, you are ready to move on to finishing — and to choose your next build from our beginner woodworking projects or browse the woodworking plans guide for something more ambitious.
Final Thoughts
Good sanding is about patience and consistency. Choose an appropriate starting grit, progress gradually, sand with the grain, avoid excessive pressure, and inspect the surface carefully.
The extra time you spend preparing the wood can make the finished project look dramatically better — and it is one of the common woodworking mistakes beginners should avoid: rushing the sanding stage and expecting the finish to hide it.