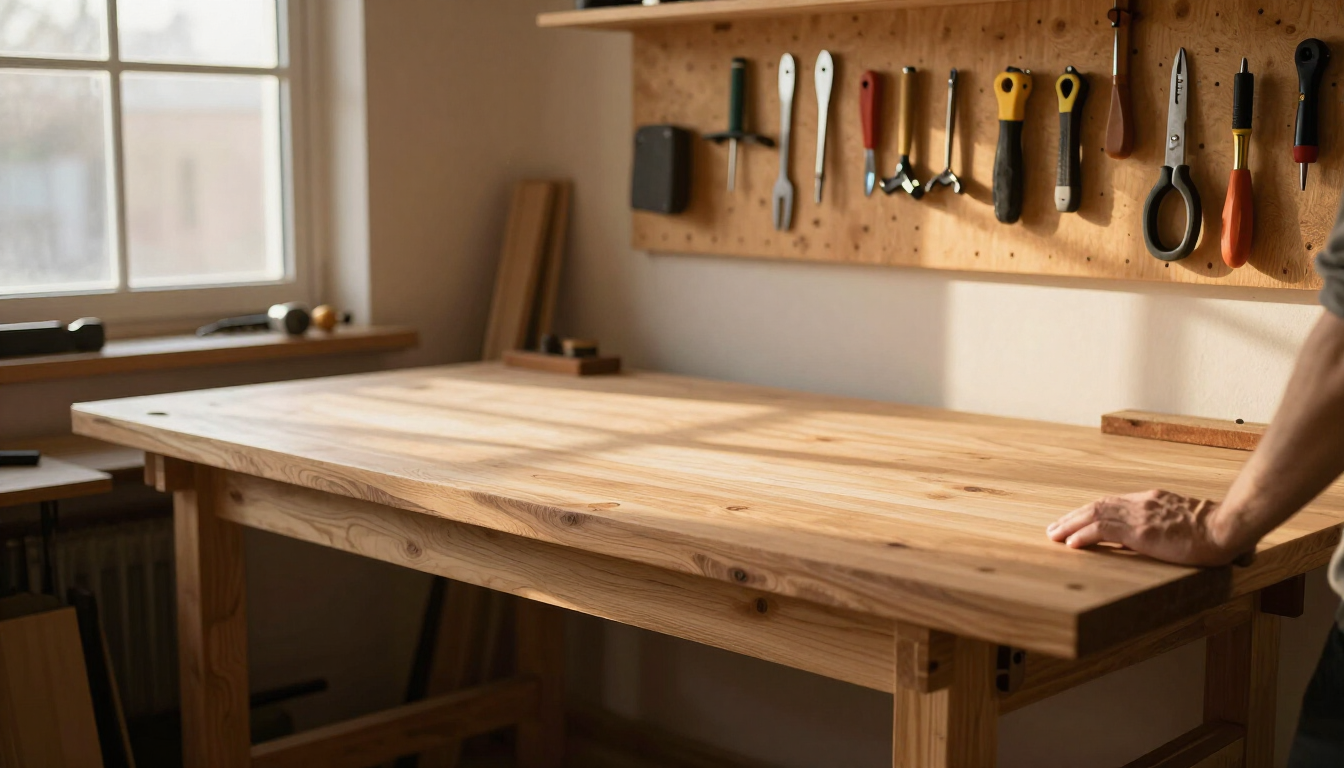
How to Build a Simple DIY Wooden Workbench
A good workbench can become the center of your entire woodworking workshop.
You don't need an expensive professional bench to get started. A sturdy homemade workbench can provide enough space for measuring, cutting, sanding, assembling, and finishing projects.
The key is designing it around your available space and the type of work you plan to do.
Decide on the Size
Start by measuring your workshop or garage — the same first step we recommend in our guide to setting up a small woodworking workshop. For a complete room-by-room approach to fitting a shop into a tight space, our small woodworking shop ideas guide goes deeper.
Avoid building a bench so large that it prevents you from moving comfortably around the room.
Think about:
- Available floor space
- Working height
- Table depth
- Storage requirements
- Access to electrical outlets
- Lighting
- Space for future tools
A compact bench can be better than an oversized one that makes the workshop difficult to use.
Choose Your Materials
For a budget-friendly workbench, construction lumber and plywood can be practical choices. Our beginner guide to choosing the right wood explains how different species behave.
The top should be thick and strong enough for your intended work.
You can laminate multiple boards or use a suitable plywood construction with additional support underneath.
Inspect lumber for excessive warping before purchasing.
Build the Base
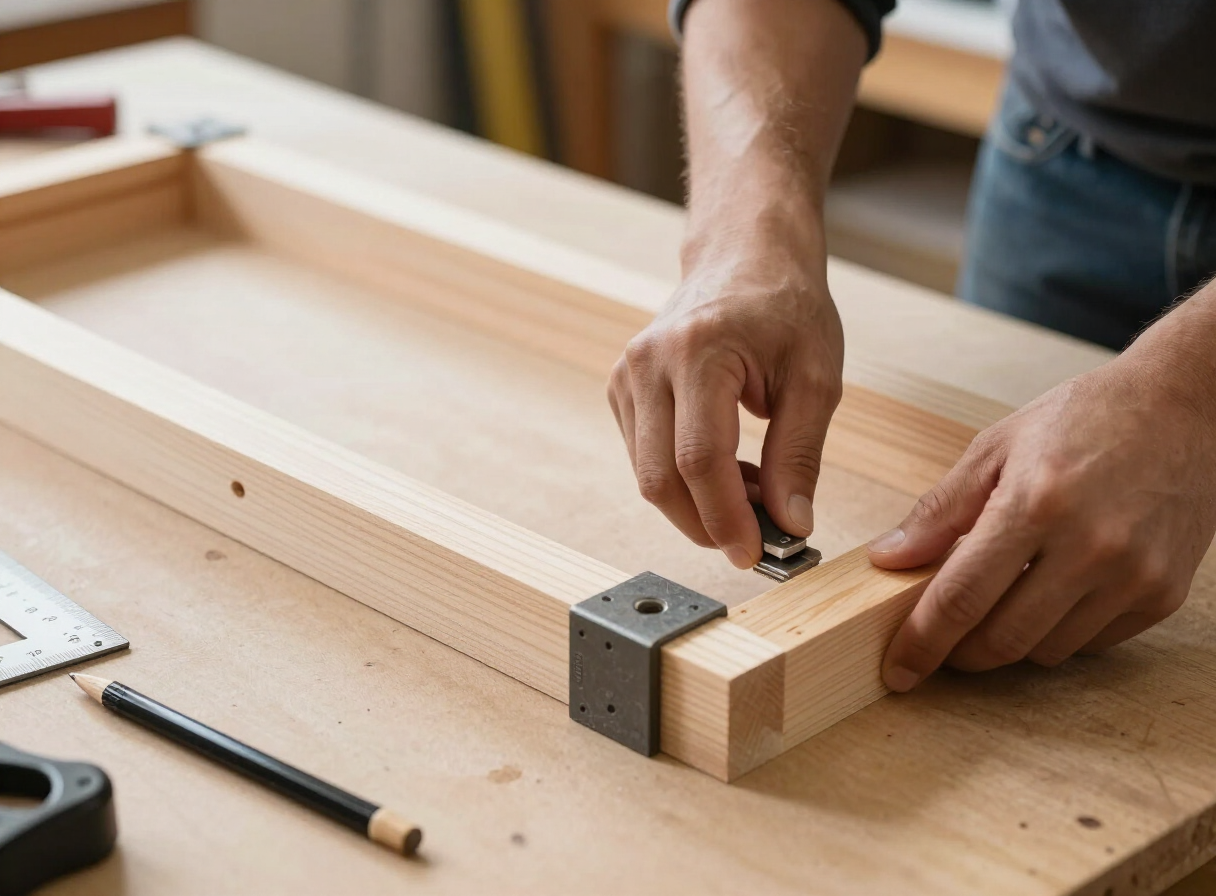
Start by constructing a rectangular frame.
The legs need to be securely connected to the frame.
A square base is important because an uneven structure can cause problems later.
Measure the diagonals of rectangular frames to help check whether the structure is square.
Install the Worktop
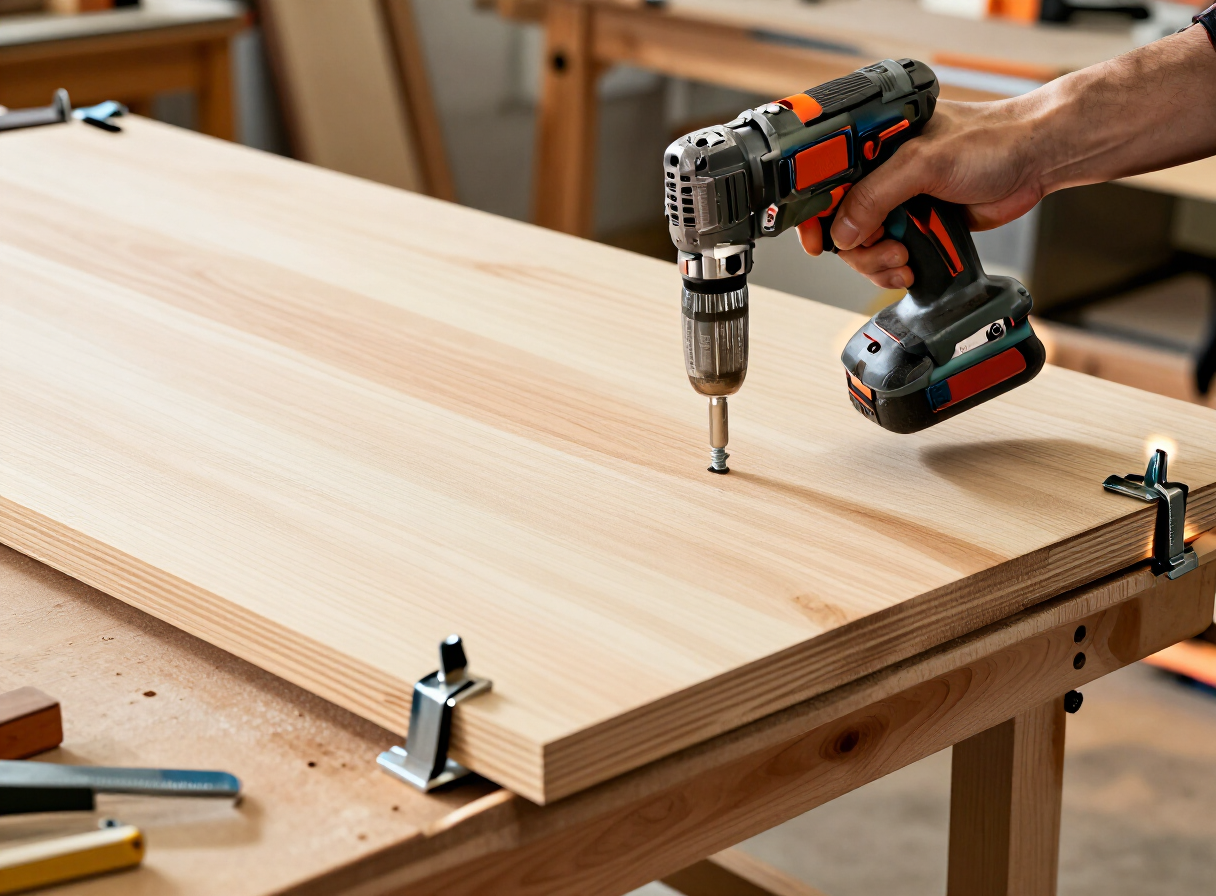
Once the base is stable, attach the worktop.
The surface should be reasonably flat.
If you're using multiple boards, arrange them carefully so large gaps and major height differences are minimized.
Secure the top firmly while allowing for appropriate wood movement where necessary.
Add Storage
One of the biggest benefits of building your own workbench is customization.
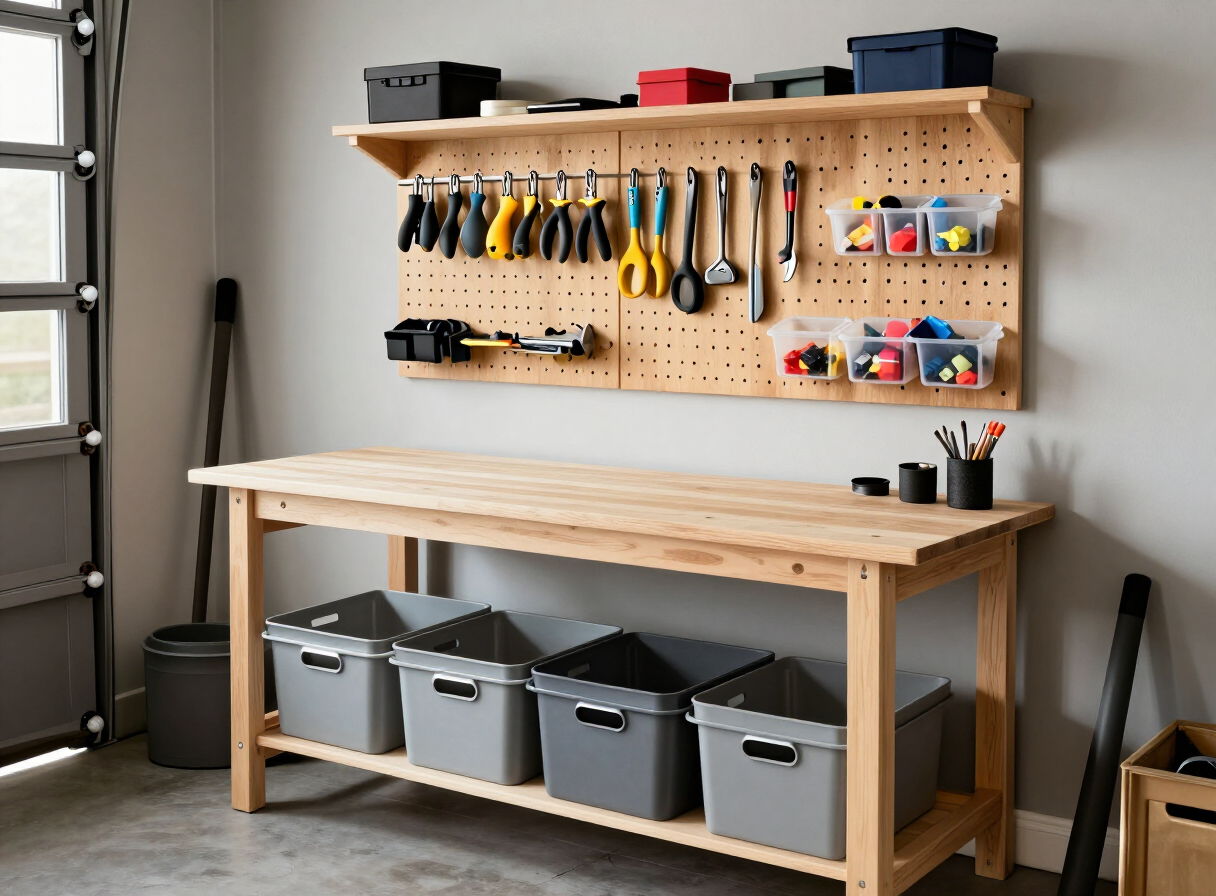
You can add:
- Lower shelves
- Drawers
- Tool holders
- Pegboards
- Clamping areas
- Scrap wood storage
- Hardware containers
Don't add features simply because they look impressive.
Build storage around the tools you actually use — the same principle behind our DIY wooden storage ideas.
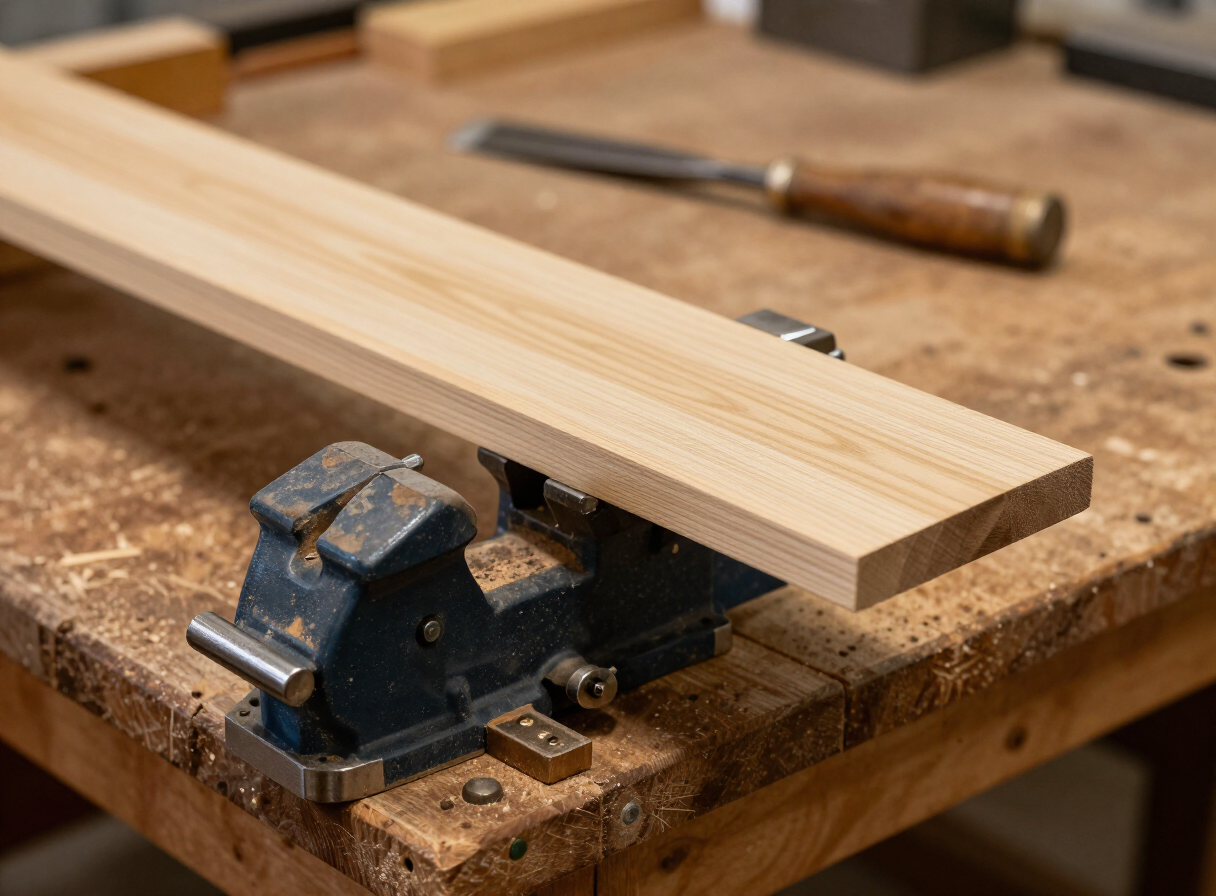
Consider a Workbench Vise
A vise can make a major difference in a woodworking workshop.
It can hold boards securely while you cut, drill, chisel, or assemble them.
If you plan to install one, reinforce the area underneath the mounting location.
Sand the Edges
Round or soften sharp exposed edges.
You don't need to make the workbench furniture-grade, but removing sharp corners makes the bench more comfortable and safer to work around.
Choose a Practical Finish
A workshop workbench doesn't necessarily need a fancy finish.
A durable protective coating can help protect the surface from dirt, spills, and general workshop abuse.
Some woodworkers prefer leaving the top relatively simple because the surface will naturally accumulate marks over time.
Make the Workbench Stable
A workbench should not wobble.
If it moves while you're cutting or sanding, the problem can become frustrating and potentially unsafe.
Check all joints and fasteners.
Place the bench on a reasonably level surface and make adjustments if necessary.
Create a Workspace You Enjoy
Good lighting is just as important as the workbench itself.
Position lighting so your hands and workpiece don't cast shadows over the cutting or marking area.
Keep frequently used tools within easy reach — our essential woodworking tools guide lists the ten every beginner should own.
A well-organized workspace makes woodworking much more enjoyable.
Final Thoughts
A DIY wooden workbench doesn't need to be complicated.
Build a strong base, create a durable top, add useful storage, and customize it around your projects.
As your woodworking skills grow, your workbench can evolve with you.
And that's one of the best things about DIY woodworking: your workshop doesn't have to be finished on day one.