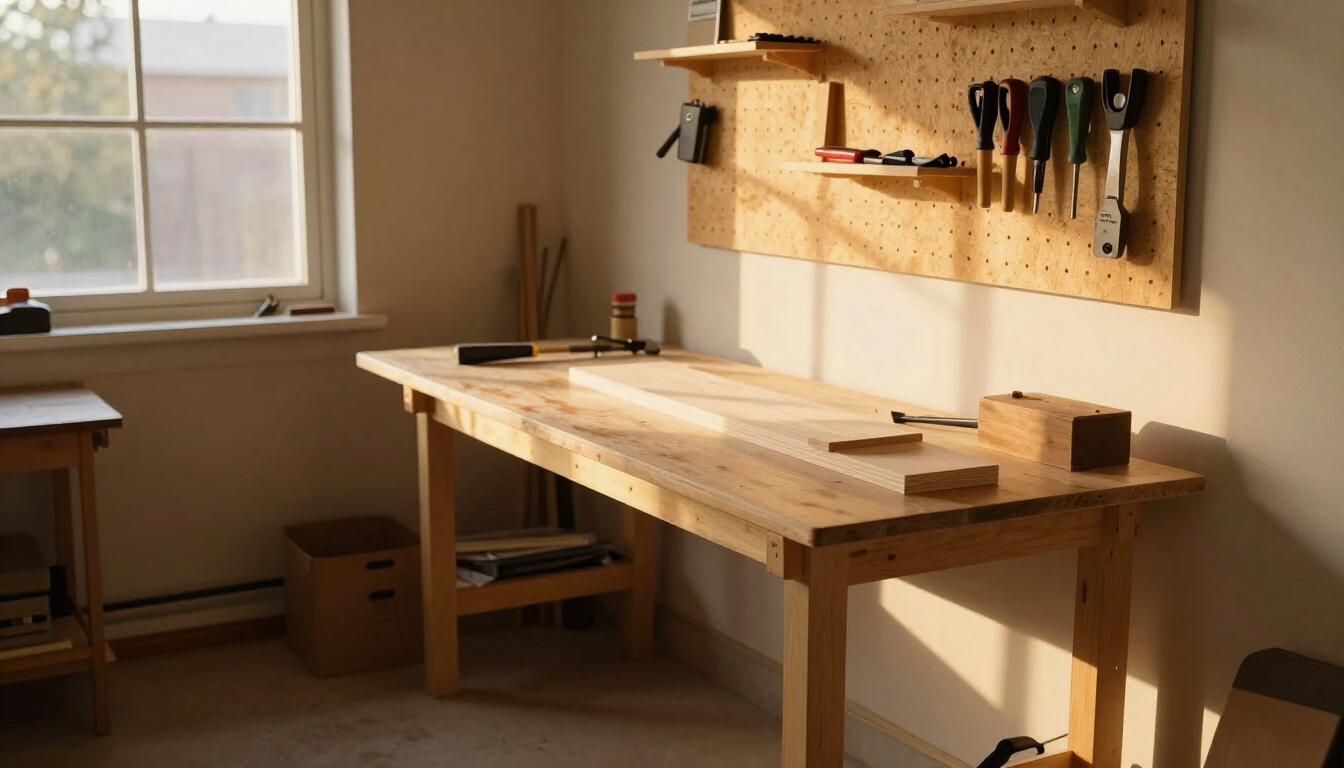
How to Build a Small Woodworking Shop in a Limited Space
Do you dream of having your own woodworking workshop but don’t have a large garage or dedicated building?
You’re not alone. Many DIY woodworkers start in a small garage, spare room, covered outdoor area, or compact corner of their home. The challenge isn’t necessarily the size of the space — it’s learning how to use it efficiently.
A small woodworking shop can still support a wide range of projects when the layout, tools, storage, and workflow are planned carefully. You may not be able to install every large machine, but you can make shelves, organizers, small tables, and many practical builds from our project library.
The secret is to design your workshop around the work you actually do. In this guide, you’ll learn how to set up a small woodworking shop, choose space-saving tools, organize lumber, improve lighting, manage dust, and make the most of a limited area.
1. Measure Your Available Workspace
Before purchasing tools or building storage, measure the space you have. Don’t simply measure the room’s overall dimensions — consider the areas you can actually use.
Look for obstacles such as doors, windows, electrical outlets, pillars, storage cabinets, and walkways. If you’re using part of a garage, you may also need to preserve access for a vehicle or household storage.
Create a basic drawing showing the available floor space. Mark the locations of permanent obstacles and identify where you can place a workbench, tool storage, and lumber racks.
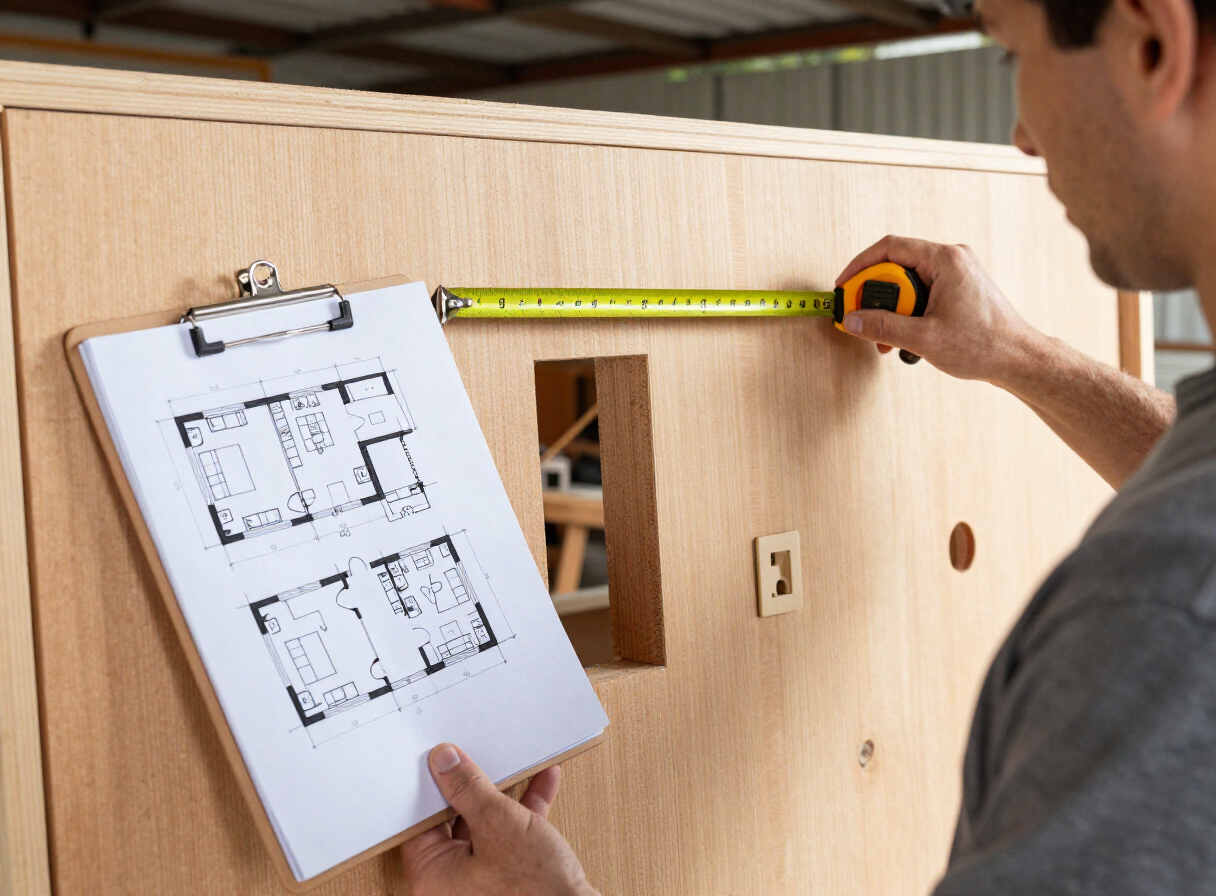
Remember that tools require operating space. A saw may occupy only a small amount of floor space when stored, but cutting long boards may require additional room in front of and behind the machine. Don’t design the workshop around the footprint of a tool alone — consider the entire working area needed to use it safely. This is the same principle we walk through in our guide to setting up a small woodworking workshop.
2. Decide Which Projects You Want to Build
Your project choices should influence the design of your workshop. Someone who mainly builds small decorative items has different requirements from someone who wants to make cabinets or dining tables.
For example, small projects may require a compact workbench, hand tools, a drill/driver, and a small saw. Furniture construction may require more clamping space, larger assembly surfaces, and a way to handle long boards or sheet materials — see our guide to building your first piece of DIY wooden furniture.
Make a list of the projects you expect to build over the next several months. Then identify the tools and workspace each project requires. This approach prevents you from spending money on equipment that doesn’t support your immediate goals — and you can browse weekend projects you can build in a couple of days for realistic starting points.
3. Choose a Workbench That Fits the Space
A workbench is often the center of a small woodworking shop. It provides a surface for measuring, marking, sanding, drilling, assembly, and many other tasks. However, a huge workbench can consume valuable floor space.
Consider building a compact bench that fits your available area — our step-by-step guide to building a simple DIY wooden workbench walks through sizing, materials, and assembly. A bench with shelves underneath can provide additional storage without requiring separate cabinets.
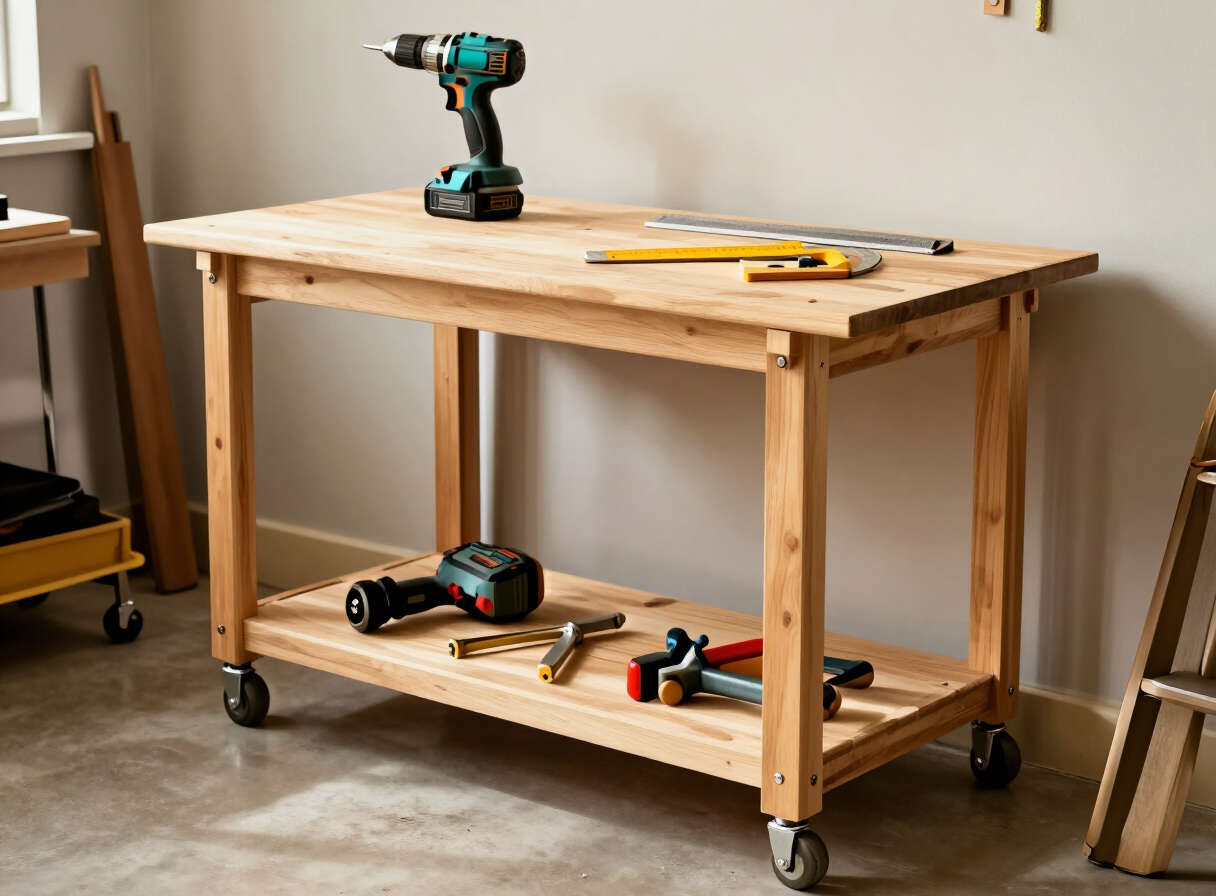
If space is extremely limited, a fold-down work surface may be worth considering for lightweight tasks. Make sure any folding structure is properly supported and stable before using it. Another option is a mobile workbench with locking casters — this allows you to reposition the bench when working on larger projects. The casters and frame must be appropriate for the intended loads, and the bench should remain stable during use.
Choose a practical workbench height
The correct height depends on your body, the tools you use, and the tasks you perform. A surface comfortable for hand assembly may not be ideal for every cutting or sanding operation. If possible, test the proposed height before permanently building the bench.
4. Invest in Compact, Versatile Tools
In a small workshop, every tool should earn its place. Instead of buying multiple machines that perform similar functions, start with tools that support a wide range of projects — the ten covered in our essential woodworking tools guide are a sensible starting point.
- Measuring tape
- Combination square
- Marking pencil
- Drill/driver
- Circular saw
- Jigsaw
- Clamps
- Sanding block
- Orbital sander
- Basic hand tools
The exact selection depends on your projects and experience. A circular saw paired with an appropriate cutting guide can handle many straight cuts without requiring a permanently installed table saw. A jigsaw can handle curved cuts and irregular shapes. A cordless drill/driver is useful for drilling and fastening. You can add specialized equipment later when you know which tasks would benefit from it.
Consider portable tools
Portable tools are particularly useful in compact spaces. You can store them in cabinets, on shelves, or in dedicated toolboxes when they’re not needed. However, portable doesn’t mean automatically safe — use the correct accessories, secure the workpiece, and follow the manufacturer’s operating instructions.
5. Create a Mobile Tool Station
One way to save space is to organize related tools together. For example, you could create a mobile station for drilling and fastening supplies — store the drill, bits, countersinks, screws, and measuring tools together.
Another station might contain sanding tools, abrasives, dust extraction accessories, and finishing supplies. This reduces the need to walk around the workshop looking for equipment. A mobile cart can also be moved out of the way when you need additional floor space.
Keep heavy equipment low and secure items so they cannot fall during movement.
6. Use Wall Space for Storage
Walls are valuable in a small woodworking shop. Instead of storing every tool on the workbench, use suitable wall-mounted storage to keep frequently used equipment accessible.
- Pegboards
- Shelves
- Tool hooks
- Small parts organizers
- Wall-mounted cabinets
- Holders for clamps
- Racks for measuring tools
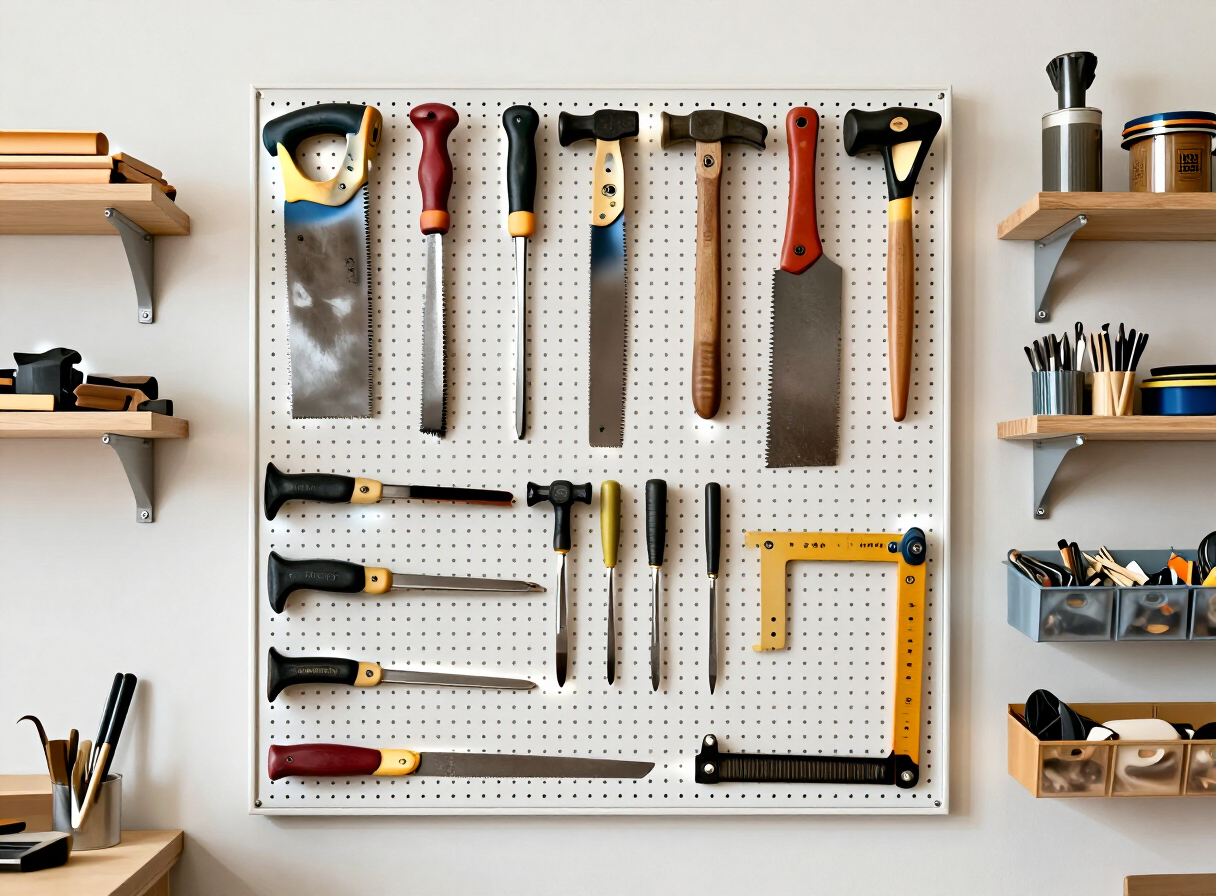
Arrange the storage according to how frequently you use each item. Tools used daily should be easy to reach. Less frequently used equipment can be stored higher or farther away, provided it can be retrieved safely. Don’t overload wall-mounted systems — ensure the fasteners and supporting structure are appropriate for the weight. The same vertical-storage thinking works all over the house, as our DIY wooden storage ideas show.
7. Organize Lumber Efficiently
Lumber can consume a surprising amount of space. Long boards, plywood sheets, and offcuts are difficult to manage if they are scattered across the floor.
Create a designated lumber storage area. Depending on your space, you may use a properly supported horizontal rack or a vertical storage system designed for the materials you keep. Keep heavier materials supported and secure, and store lumber away from damp floors and conditions that could promote moisture damage — our beginner guide to choosing the right wood explains how moisture affects different species.
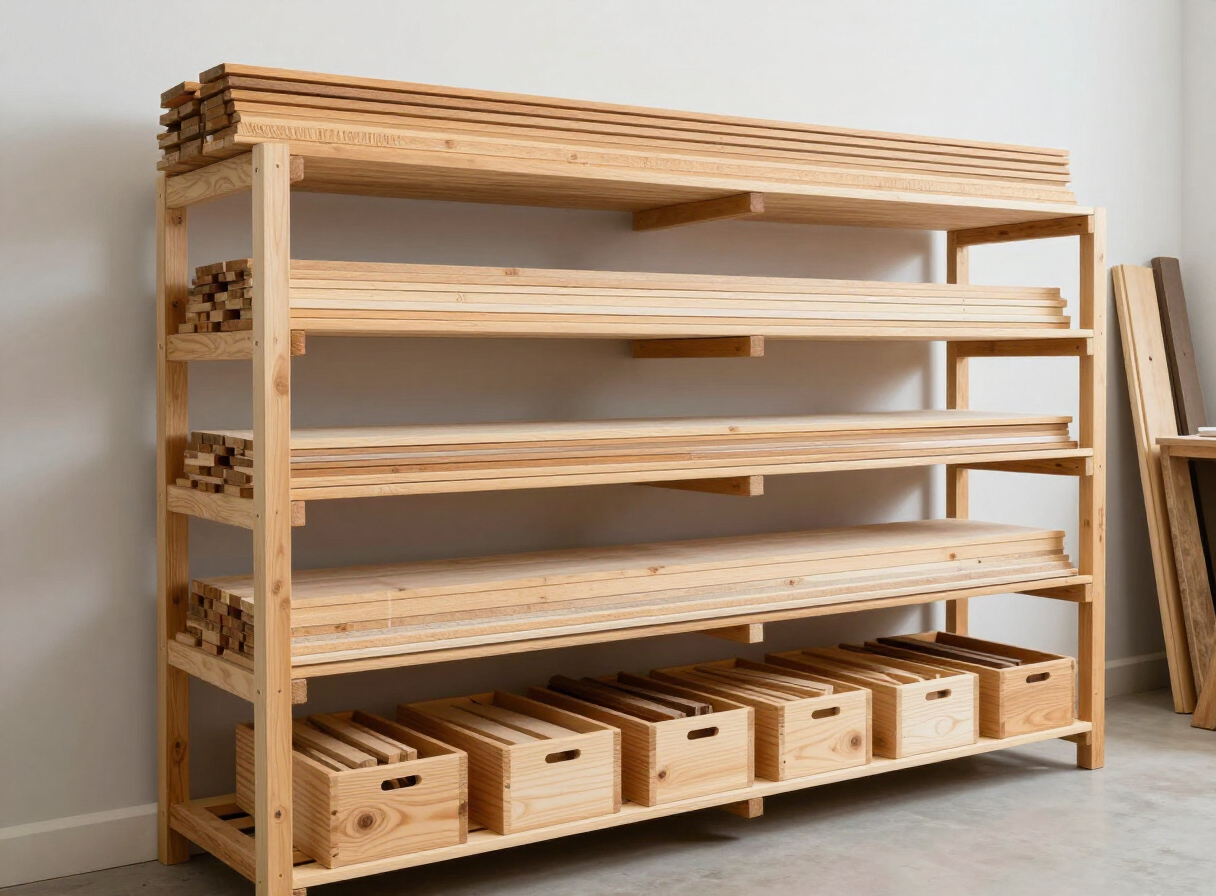
Sort offcuts by size
Keep useful scraps, but don’t save every tiny piece. Organize offcuts into categories such as short blocks, narrow strips, medium boards, and plywood scraps. This makes it easier to find material for small projects — our scrap wood projects put those offcuts straight to work. Discard damaged or unusable scraps when they no longer serve a practical purpose.
8. Plan a Safe Cutting Area
Cutting wood requires adequate space and a stable setup. In a small workshop, you may need to move equipment into position when making certain cuts.
Before beginning, ensure that the workpiece is properly supported and that the tool can complete the cut without hitting walls, furniture, cables, or other obstacles. Use suitable guides and supports where appropriate. Never attempt to force a large board through a space that doesn’t allow safe handling.
If your workshop cannot safely accommodate a particular operation, consider using a different cutting method or having the material cut elsewhere. Good planning is more valuable than trying to fit every possible tool into a tiny room.
9. Make Dust Management a Priority
Woodworking creates dust and chips. Fine wood dust can present respiratory hazards, and dust buildup can make a workshop difficult to clean. Plan dust management from the beginning.
Depending on your tools and workspace, you may need a suitable dust extractor, vacuum system, or other dust-control equipment. Use equipment designed for the type of dust and operation involved — a household vacuum may not be suitable for every woodworking application. For an authoritative overview of the health risks and recommended controls, the CDC/NIOSH woodworking safety guidance is a useful reference.
Wear appropriate respiratory protection when necessary, and follow the tool manufacturer’s guidance. Don’t rely on opening a window as the only dust-control measure. Good housekeeping matters too — clean work surfaces and floors regularly, and avoid using compressed air in ways that send fine dust into the air.
10. Improve Lighting and Electrical Access
Good lighting makes measuring, marking, cutting, and finishing easier. A small workshop can benefit from general overhead lighting combined with task lighting around the workbench.
Position lights so your hands and tools don’t cast shadows over the workpiece. If you use portable lights, secure their cables so they don’t create tripping hazards. Plan electrical access according to your tools’ power requirements — avoid overloading circuits or using damaged cords. If your planned equipment requires additional electrical work, consult a qualified electrician.
11. Keep Finishing Supplies Organized
Wood finishes, adhesives, solvents, and other workshop products require careful storage. Keep them in their original containers whenever possible, with labels intact. Follow the manufacturer’s instructions for storage temperature, ventilation, handling, and disposal.
Some products are flammable or produce hazardous vapors. Do not store them near ignition sources or use them in poorly ventilated areas when the product requires ventilation. Finishing products also have different disposal requirements — never assume leftover chemicals can be poured down a drain.
12. Make Your Workshop Easy to Clean
A small workshop becomes difficult to use when dust, scraps, and tools accumulate. Create a simple cleanup routine: return tools to their storage locations, remove offcuts from the floor, clean the workbench after each project, and empty dust collection equipment according to its instructions.
Inspect cords, blades, and accessories regularly. An organized workshop doesn’t need to look perfect — it simply needs to remain functional and safe.
13. Build Storage Instead of Buying Everything
Woodworking itself gives you an opportunity to create customized workshop storage. You can build clamp racks, tool holders, small cabinets, mobile carts, and shelves using suitable lumber or plywood. These projects can be relatively inexpensive and allow you to practice useful construction techniques — and many appear in our workshop organization projects.
Measure your tools before building storage. Leave enough space to remove equipment comfortably. Avoid creating storage systems that require you to move five other objects just to retrieve one tool. The best workshop storage saves time rather than adding extra steps.
If you’d rather follow a proven plan than design your own, a large plan library such as Ted’s Woodworking includes workbench and workshop storage plans among its 16,000+ step-by-step builds — giving you ready-made cut lists and diagrams for the very storage your shop needs.
Affiliate disclosure: This is an affiliate link. If you purchase through it, we may earn a commission at no additional cost to you.
14. Expand Your Workshop Gradually
You don’t need to build your dream workshop immediately. Start with the tools and storage needed for your first few projects. As your skills improve, identify the limitations that actually slow you down — perhaps you need additional clamps, better lighting, a larger assembly surface, or a more effective dust extractor.
Invest in those improvements before purchasing equipment simply because it looks impressive. This approach keeps costs manageable and helps ensure every purchase has a purpose. If you’re just starting out, our guide to starting woodworking at home on a budget shows how to begin without overspending.
Frequently Asked Questions
Can I start woodworking in a small garage?
Yes. Many small projects can be completed in a compact garage if you have suitable tools, adequate workspace, safe cutting arrangements, and effective dust management.
What is the most important tool for a small woodworking shop?
There isn’t one tool that suits every workshop. A stable workbench, accurate measuring tools, a drill/driver, and an appropriate cutting method are useful starting points for many beginners — see our essential woodworking tools guide for the full list.
How can I store lumber in a small workshop?
Use a dedicated, properly supported rack or storage system suited to the size and weight of your materials. Keep lumber organized and secure it against falling.
Do I need a table saw?
Not necessarily. Some projects can be completed with a circular saw and suitable guide system. Your tool choices should depend on the work you plan to do.
How do I control wood dust in a small room?
Use suitable dust extraction, appropriate respiratory protection, and regular cleaning. Follow the safety guidance for your tools and materials.
Final Thoughts
Building a small woodworking shop is less about having a large room and more about using your available space intelligently. Choose projects that match your workshop, invest in versatile tools, organize your lumber, use wall space effectively, and plan safe working areas.
Start with a practical workbench and a few essential tools. As your woodworking skills develop, improve the workshop based on your real needs. A compact, organized workspace can support a surprising number of rewarding DIY projects — and our roundup of woodworking projects for small spaces is full of builds designed for tight homes. When you’re ready for your next build, browse our woodworking plans guide or the full project library.