How to Read Woodworking Plans: A Complete Beginner’s Guide
Have you ever seen a beautiful wooden table, bookshelf, cabinet, or outdoor bench and wondered whether you could build one yourself?
Perhaps you’ve watched woodworking videos and felt inspired to create something similar in your own workshop. You have some basic tools, a little space to work, and the motivation to get started. The only problem is figuring out how to turn an idea into a finished project.
This is where woodworking plans become incredibly useful. Plans provide the measurements, diagrams, material lists, and instructions needed to build a particular project. They help you understand how individual pieces fit together and give you a practical roadmap to follow from the first cut to final assembly.
However, looking at a detailed woodworking blueprint for the first time can be confusing. Lines, dimensions, symbols, cut lists, and construction details may seem complicated if you have never worked with them before. The good news is that you don’t need to be an engineer or professional carpenter to understand most beginner plans.
In this guide, you’ll learn how to read woodworking plans, identify important measurements, prepare your materials, avoid common beginner mistakes, and choose projects that match your skills.
Why Woodworking Plans Are Important
Imagine building a bookshelf without knowing its final dimensions, the number of shelves required, or how the sides connect to the top and bottom. You might begin cutting boards based on rough guesses. Halfway through the project, you could discover that the shelves are too short, the frame is uneven, or you don’t have enough material. These mistakes can waste time and money.
Woodworking plans reduce uncertainty by providing a defined construction process. A good plan can help you:
- Understand the finished project’s dimensions
- Identify the materials and hardware required
- Calculate how much lumber to purchase
- Determine the size of each wooden component
- Understand how pieces connect
- Organize the assembly process
- Reduce unnecessary material waste
- Estimate the project’s cost and completion time
Plans are particularly helpful for beginners because they provide structure while you develop practical woodworking skills. Instead of trying to solve every construction problem independently, you can concentrate on learning how to measure, cut, drill, assemble, and finish the project — the same skills our essential woodworking tools guide is built around.
1. Start by Examining the Entire Plan
Before purchasing lumber or using any tools, read the complete woodworking plan. This is one of the simplest ways to prevent mistakes.
Many beginners immediately focus on the first instruction and start working. Unfortunately, later steps may reveal important details that affect earlier decisions. For example, a bookshelf might require a specific type of joint that influences how the boards should be cut. A cabinet may require holes for adjustable shelf supports before assembly. An outdoor bench may need weather-resistant materials and particular fasteners.
Reviewing the entire plan helps you identify these requirements before they become problems. Look for the following sections:
- Project overview — describes what you’re building and may include a picture of the finished result
- Dimensions — the project’s overall width, height, depth, and sometimes individual components
- Materials list — the lumber, sheet materials, fasteners, glue, and other supplies
- Cut list — the required dimensions and quantities of wooden components
- Diagrams — the project’s shape, structure, and individual parts
- Assembly instructions — how the components fit together and in what order
- Finishing instructions — sanding, painting, staining, or protective coatings
Understanding these sections before you begin gives you a clearer picture of the entire project — and helps you avoid the common woodworking mistakes beginners should avoid before you cut a single board.
2. Understand Woodworking Measurements
Measurements are among the most important parts of any woodworking plan. Even a small error can affect how components fit together. Plans may use inches, feet, millimeters, or centimeters, depending on the designer and intended audience.
For example, a simple bookshelf might have these overall dimensions: height 1,200 mm, width 800 mm, depth 300 mm. These measurements describe the finished bookshelf, not necessarily the dimensions of every individual board. The plan may also specify the thickness of the material — for instance, nominal 1-inch lumber or approximately 18 mm plywood, depending on the design.
Remember that nominal lumber dimensions and actual dimensions are not always the same. A board sold under a nominal size may have smaller finished dimensions after processing. Always verify the actual material dimensions before cutting — our guide to choosing the right wood for DIY projects explains how species and sizing interact.
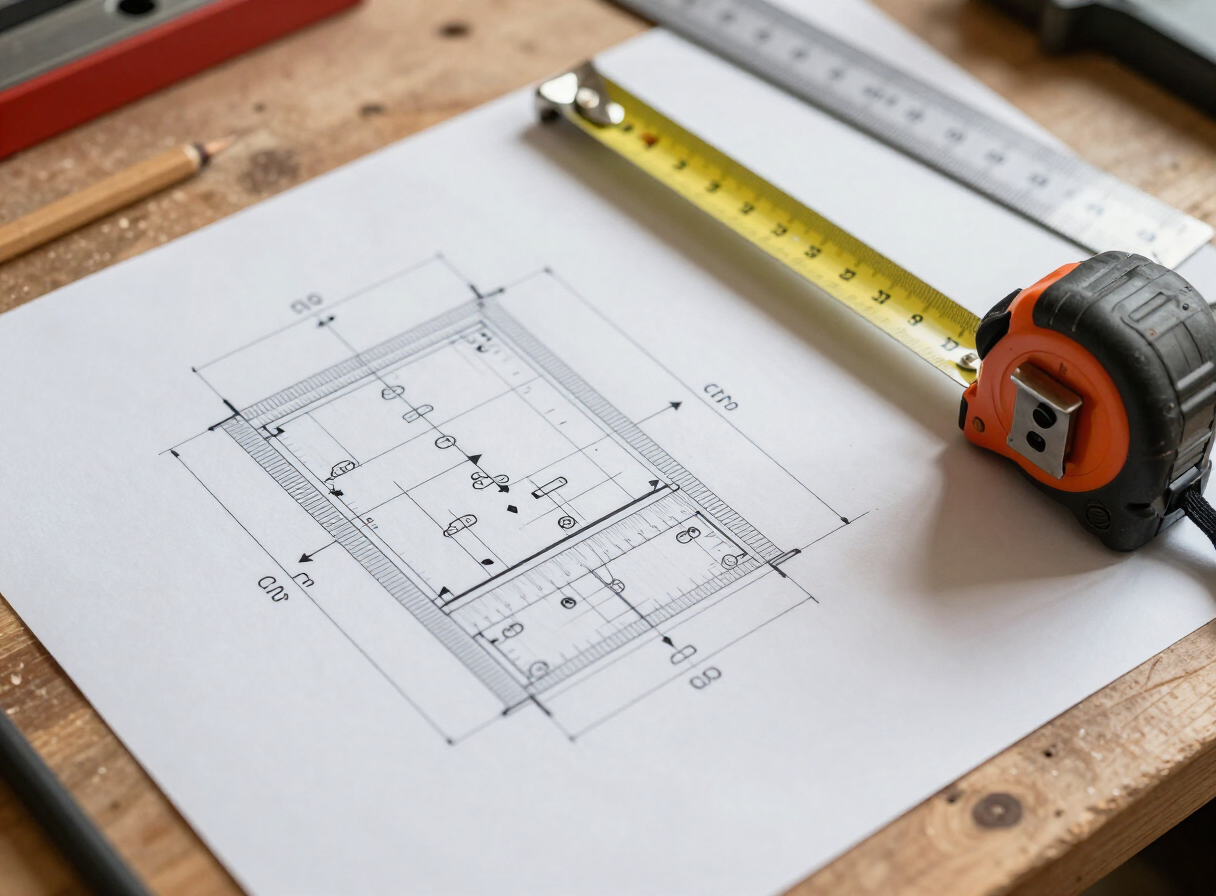
How to convert measurements
If a plan uses inches but your measuring tools use metric measurements, you’ll need to convert the dimensions. The basic conversion is 1 inch = 25.4 millimeters. For example, a board measuring 12 inches is 304.8 millimeters long. You can use a calculator or a reliable unit converter when working with mixed measurement systems.
However, avoid repeatedly rounding measurements in a way that accumulates errors. Keep the original dimensions available and follow one consistent measurement system whenever possible.
Pay attention to measurement arrows
In woodworking diagrams, dimension lines often have arrows or extension lines indicating the distance being measured. A dimension might describe the overall width of a component, the distance between two holes, or the position of a shelf. Don’t assume that a measurement refers to the nearest edge without examining the diagram carefully. When a dimension is unclear, check the other views or consult the plan’s accompanying instructions.
3. Learn to Read Woodworking Diagrams
Many woodworking plans use multiple views to explain a project. The most common views are the front view, side view, top view, and assembly or exploded view. Each view reveals different information.
The front view shows how the project appears from the front — for a cabinet, it might show the doors, drawers, shelves, and overall height. The side view helps you understand the project’s depth and the position of components that may not be visible from the front, which is especially useful when building cabinets, benches, tables, and other furniture. The top view shows the project from above, helping you understand the arrangement of tabletop boards, shelf dimensions, frame placement, or the distance between structural components.
An exploded diagram separates the components visually to show how they fit together. This is particularly helpful when a project contains multiple pieces that overlap or connect in different directions. For beginners, exploded views can make complicated assemblies easier to understand.
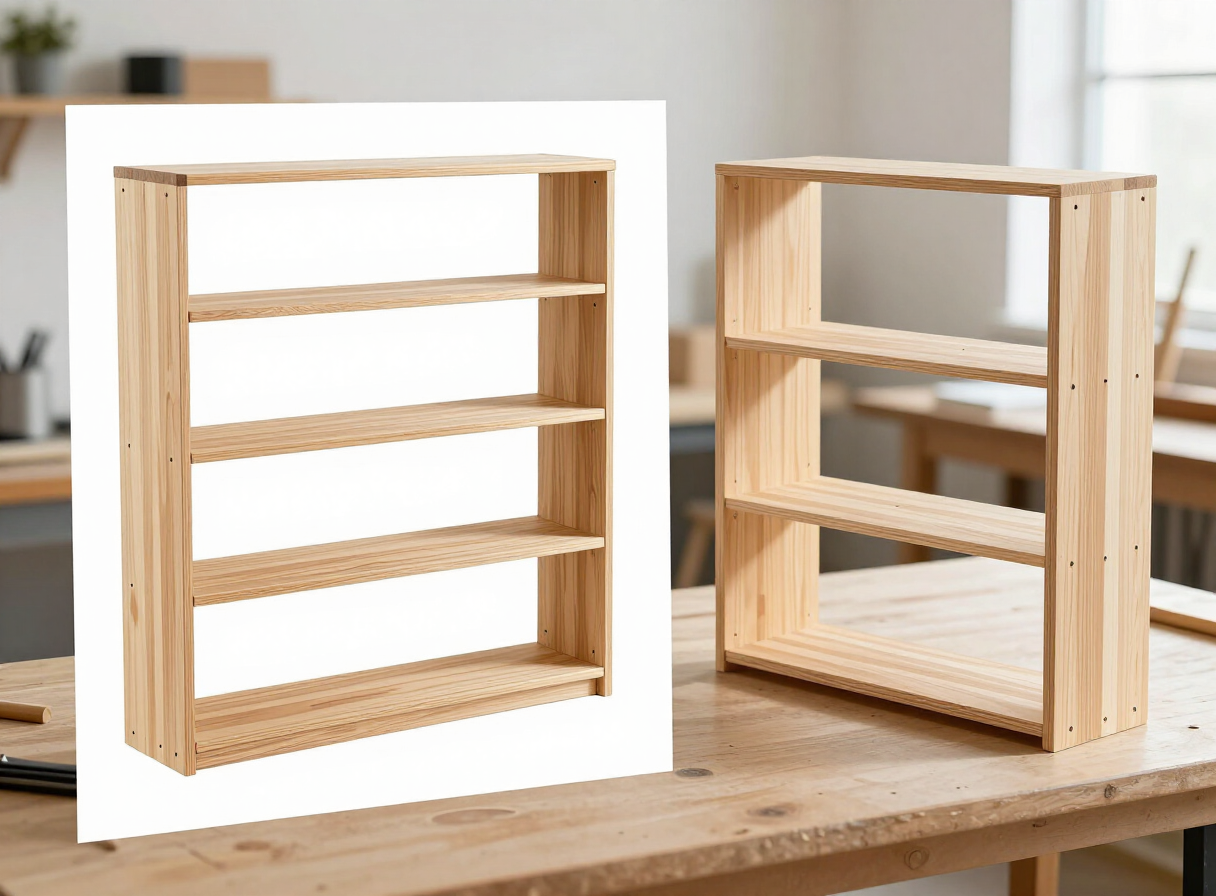
Before building, compare the different views to make sure you understand the structure of the finished project. For a deeper grounding in how professional woodworkers document and explain joinery, the experts at Fine Woodworking offer trusted, high-authority explainers worth bookmarking alongside any plan you follow.
4. Understand the Materials List
The materials list tells you what you’ll need to complete the project. Depending on the design, it may include solid lumber, plywood, screws, bolts, wood glue, hinges, handles, brackets, and finishing products.
Consider a simple wooden storage bench. Its materials list might include solid lumber for the frame, plywood for the panels, screws or other suitable fasteners, wood glue where appropriate, hinges if the bench includes a lid, sandpaper, and paint, stain, or protective finish. The exact quantities and specifications depend on the plan.
Don’t substitute materials automatically just because another option looks similar. A decorative board may not have the strength needed for a structural component. Likewise, interior-grade materials may be unsuitable for a project exposed to weather or persistent moisture — our guide to choosing the right wood for DIY projects covers which species handle each situation. Check the intended use of the finished project before purchasing materials.
5. Follow the Cut List Carefully
The cut list identifies the pieces you need to prepare. It typically includes the component name, quantity, length, width, thickness, and sometimes additional details. For example, a small storage shelf might require two side panels at 600 mm, one top panel and one bottom panel at 500 mm, and two shelf panels at 470 mm.
These are illustrative measurements, not a complete construction plan. Actual dimensions depend on the design, material thickness, and joinery method. Notice that the shelf panels are shorter than the top panel — this might be necessary because the shelves fit between the side panels. Understanding why pieces have different dimensions is just as important as copying the numbers correctly.
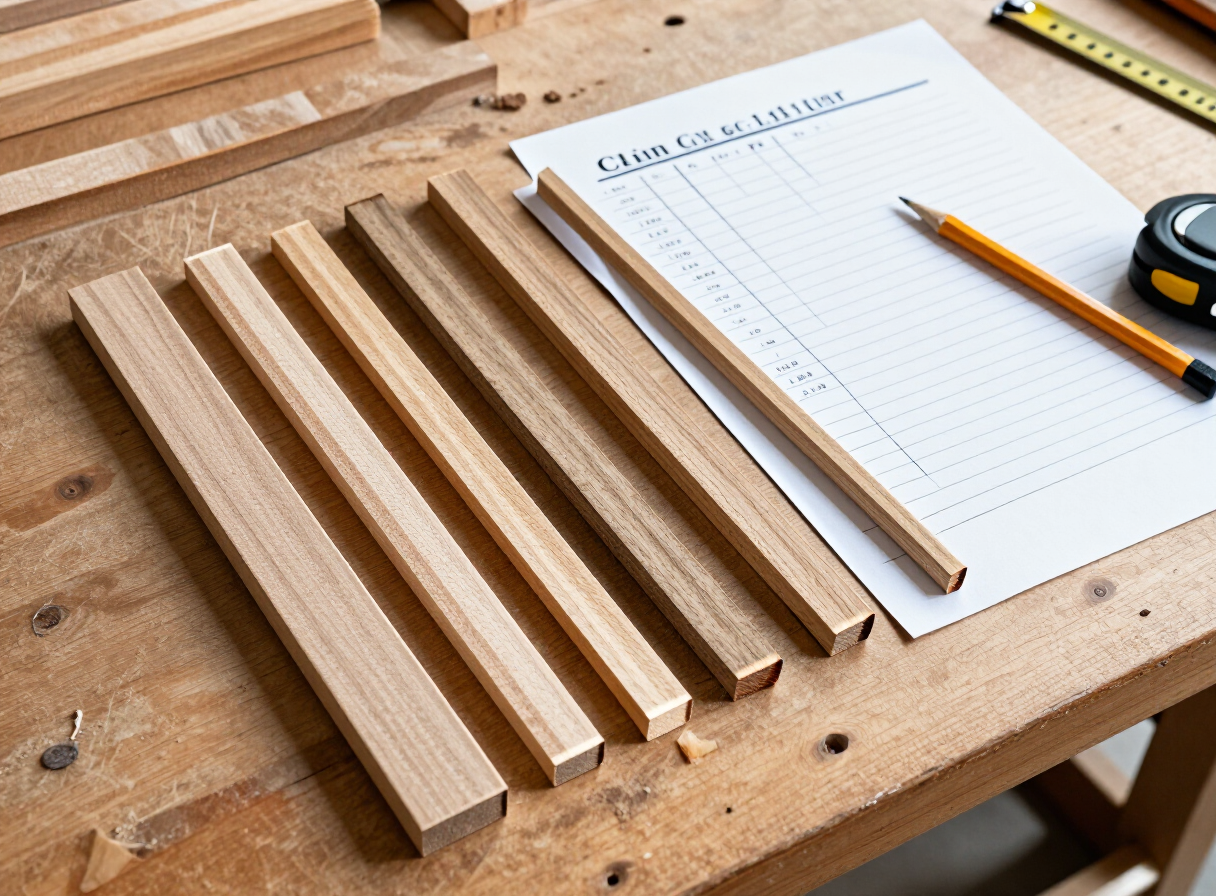
Create a cutting checklist
Before cutting, organize the cut list into a practical checklist:
- Confirm the required quantity of each piece
- Check whether the dimensions account for material thickness and joinery
- Inspect the lumber for knots, cracks, warping, and other defects
- Plan how to arrange the cuts to reduce waste
It’s usually better to prepare all required components carefully than to cut boards randomly and discover later that you don’t have enough usable material.
6. Understand Wood Thickness and Joinery
Woodworking plans sometimes show components meeting at edges, overlapping, or fitting into grooves. These connections are called joints. Common examples include butt joints, pocket-hole joints, dado joints, rabbets, and mortise-and-tenon joints. Each has different requirements.
A simple butt joint may connect two boards with suitable fasteners or adhesive. A dado joint uses a groove to receive another component. A mortise-and-tenon joint uses a projecting tenon that fits into a matching opening. The joint affects how the pieces should be measured and prepared.
For example, if a shelf fits between two side panels, the shelf length may need to account for both panels’ thicknesses. Suppose the overall width is 800 mm and each side panel is 18 mm thick. The available internal width would be 800 mm − 18 mm − 18 mm = 764 mm. That calculation assumes the 800 mm measurement is the outside width and the side panels sit inside that overall dimension. Other construction methods may require different calculations. Always follow the dimensions and assembly method shown in the actual plan rather than assuming every project uses the same arrangement.
7. Check the Required Tools Before Starting
A woodworking plan may assume that you already have certain tools. Before beginning, identify which tools are essential and which are optional. A simple project may require only measuring tools, a drill/driver, clamps, a saw, and sanding equipment — the same core kit covered in our essential woodworking tools guide. A more complicated project might require specialized equipment for accurate joinery.
If you don’t own a particular tool, consider whether a suitable alternative can perform the task safely and accurately. However, don’t substitute a tool if doing so compromises safety or prevents you from making the required cut correctly. For example, complex curved cuts may require equipment or techniques different from those used for straight cuts. Read the instructions carefully before deciding what equipment you need.
8. Assemble the Project in the Correct Order
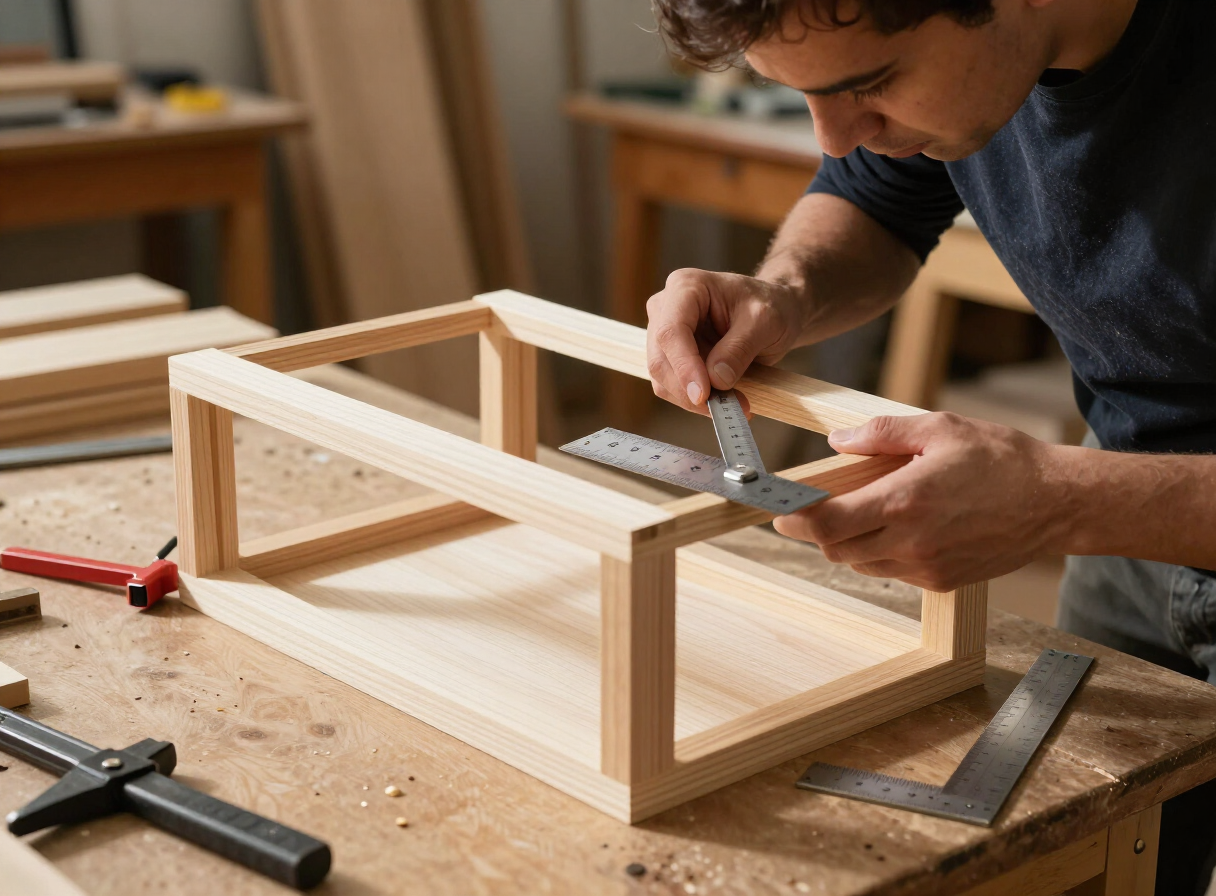
Assembly order can significantly affect the difficulty of a woodworking project. Some components are easier to prepare before assembly, while others must be fitted together in a particular sequence. For example, you might sand the inside surfaces of a cabinet before assembling it because those areas will become difficult to reach later. Similarly, certain holes or mounting points may need to be drilled before the frame is completed.
A good woodworking plan should explain the general assembly sequence. Lay out the components before joining them, check that the pieces are oriented correctly, use clamps to hold parts in position when appropriate, and check the structure for squareness during assembly instead of waiting until the entire project is finished. If something doesn’t fit, stop and investigate the cause rather than forcing the components together.
9. Choose Woodworking Plans That Match Your Skill Level
Not every attractive woodworking project is suitable for a beginner. A complicated dining table might require advanced joinery, accurate milling, specialized clamps, and substantial workspace. A simple storage crate may require only basic measuring, cutting, drilling, and assembly.
Choose projects that allow you to develop your skills gradually. Look for plans with clear diagrams, understandable instructions, complete material lists, and realistic construction requirements. Our 15 easy DIY woodworking projects for beginners are a good place to find builds that match a first-time skill level. If a plan uses unfamiliar techniques, research those techniques before purchasing materials.
You should also consider your available workspace, budget, and tools. A project that is manageable in a large workshop may be impractical in a small apartment or shared garage — our guide to setting up a small woodworking workshop helps you match a build to the space you actually have.
10. Where to Find Woodworking Plans
There are several places to look for woodworking plans.
Free woodworking plans
Free plans can be useful for learning basic construction techniques and trying simple projects without an initial spending commitment. Look for plans that explain the dimensions, materials, assembly, and intended use of the finished product. Check the source carefully, especially when a project needs to support significant weight.
Books and woodworking publications
Woodworking books can provide structured instructions and detailed illustrations. They may also explain techniques that help you understand why a project is constructed in a particular way.
Paid woodworking plan collections
Some commercial resources provide collections of woodworking plans organized by project type or difficulty. Depending on the provider, these may include furniture designs, outdoor projects, storage solutions, material lists, and detailed diagrams. Before purchasing any collection, examine the product description carefully. Confirm that the plans match your experience level, intended projects, preferred measurement system, and available tools. If a product advertises a large number of plans, remember that quantity alone doesn’t guarantee that the instructions are accurate, complete, or easy to follow.
For a broader comparison of what to look for in a plan before you spend anything, our guide to the best woodworking plans for beginners walks through evaluation criteria step by step.
If you want to move beyond free plans and browse a deeper library of step-by-step builds, you can Introduce a relevant woodworking-plan resource like Ted’s Woodworking, which offers 16,000+ plans with cut lists, diagrams, and material schedules. Browse the catalogue, then return here to read each plan with confidence.
Affiliate disclosure: This is an affiliate link. If you purchase through it, we may earn a commission at no additional cost to you.
11. Common Mistakes When Following Woodworking Plans
Even with a good plan, beginners can make avoidable mistakes. Here are several worth watching for — many overlap with the common woodworking mistakes beginners should avoid we cover separately.
- Starting without reading the instructions — this can cause you to miss important requirements
- Confusing overall dimensions with individual component dimensions — always identify exactly what each measurement describes
- Ignoring actual material thickness — nominal lumber dimensions may differ from finished dimensions
- Buying materials before checking the cut list — you may purchase the wrong quantity or type of lumber
- Skipping dry assembly — when appropriate, temporarily fit components together before applying adhesive or making permanent connections
- Rushing measurements — small errors can accumulate throughout a project
- Ignoring safety instructions — always understand the tools and procedures before beginning a cut or assembly operation
- Assuming every plan is accurate — review the instructions critically and resolve inconsistencies before cutting expensive materials
These simple checks can prevent many frustrating problems.
12. How to Get Better at Using Woodworking Plans
The best way to become comfortable with woodworking plans is to practice with progressively more complicated projects. Start with a small shelf or storage crate. Once you understand how to interpret the diagrams and cut list, try a basic side table or bookcase.
Keep notes about the measurements, tools, materials, and construction methods you used. When you finish a project, compare the result with the original plan. Identify what went well and what you would improve next time. You can also create your own simple sketches before beginning future projects — this helps you develop the habit of thinking through dimensions and construction details before touching your tools. Over time, reading woodworking plans becomes much easier because you’ll recognize familiar layouts, symbols, and construction methods.
When you’re ready to put a plan into practice, browse the full project library or our woodworking plans guide for your next build.
Frequently Asked Questions
Are woodworking plans suitable for complete beginners?
Yes. Many plans are designed specifically for beginners. Start with projects that use basic cuts, simple joints, and readily available materials — our 15 easy beginner projects are a gentle starting point.
Do I need expensive tools to follow woodworking plans?
Not necessarily. Many small projects can be completed with a modest selection of hand tools and basic power tools — the ten covered in our essential woodworking tools guide are enough for most first builds. More complicated designs may require specialized equipment.
Are free woodworking plans reliable?
Some are excellent, while others may contain incomplete instructions or unclear dimensions. Review the source, check the construction details, and verify important measurements before cutting.
Can I modify woodworking plans?
You can often adjust dimensions or materials, but changes may affect strength, stability, fit, and appearance. Understand the construction method before modifying structural components.
How do I estimate the cost of a woodworking project?
Add the cost of lumber, hardware, glue, finishing products, and any tools you need to purchase. Include an allowance for material waste and mistakes.
Final Thoughts
Learning how to read woodworking plans is one of the most valuable steps you can take as a DIY woodworker. Plans help you understand the finished project, prepare the correct materials, make accurate cuts, and assemble the components in the right order.
Start with a simple design and take your time learning how its measurements, diagrams, and instructions work together. As your experience grows, you’ll become more confident tackling furniture, cabinets, outdoor projects, and more complicated woodworking builds. The key is to plan carefully, work safely, and treat every project as an opportunity to improve your skills.