Pocket Hole Joinery Explained: A Beginner’s Guide
Pocket hole joinery is a popular woodworking technique that allows you to connect two pieces of wood using angled holes and special screws.
It is widely used for furniture frames, cabinets, shelves, face frames, and many DIY projects because it can be relatively quick to learn and does not always require complicated cutting or shaping.
For beginners, pocket holes offer a practical way to build projects with ordinary workshop tools — a natural next step once you have gathered the essential woodworking tools every beginner should own. However, they are not the ideal solution for every joint.
Understanding how the technique works, how to set it up correctly, and where it is appropriate will help you produce stronger, cleaner projects.
What Is Pocket Hole Joinery?
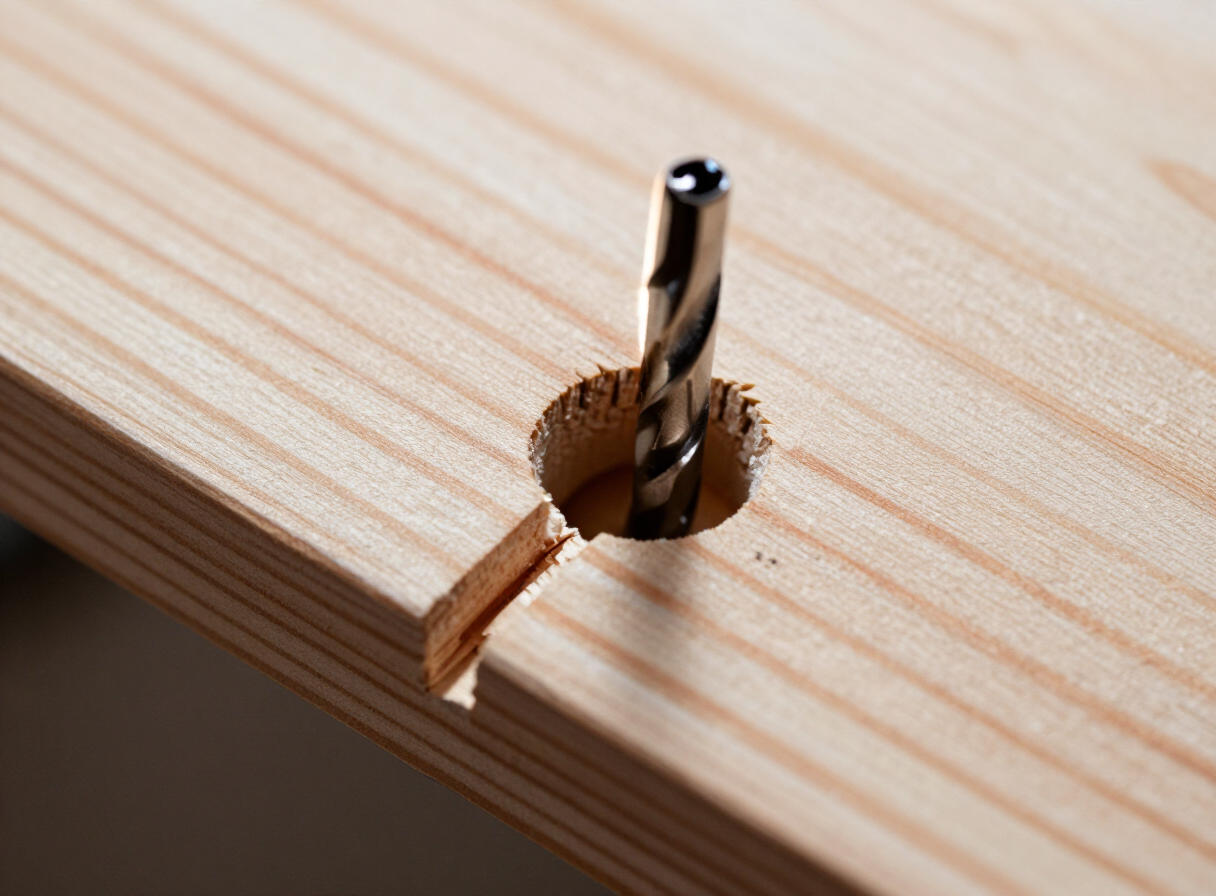
A pocket hole is a specially shaped hole drilled at an angle into a workpiece.
The hole creates a recessed area for the screw head and a guide path that directs the screw into the adjoining piece of wood.
A pocket hole joint usually consists of:
- A workpiece with the pocket hole.
- A mating piece positioned against it.
- A compatible pocket screw.
- Clamping or another method to keep the pieces aligned during assembly.
The screw pulls the two components together.
Unlike a traditional butt joint held together with ordinary screws, a properly prepared pocket hole joint is designed around the angled screw path and the geometry of the recessed hole.
The result can be a useful joint for many everyday woodworking applications.
Why Woodworkers Use Pocket Holes
Pocket hole joinery offers several practical advantages.
It Can Be Quick to Learn
A pocket hole jig guides the drill bit and helps create consistent holes. Once the jig is adjusted for the material thickness, you can repeat the process across multiple pieces.
It Requires Relatively Few Specialized Tools
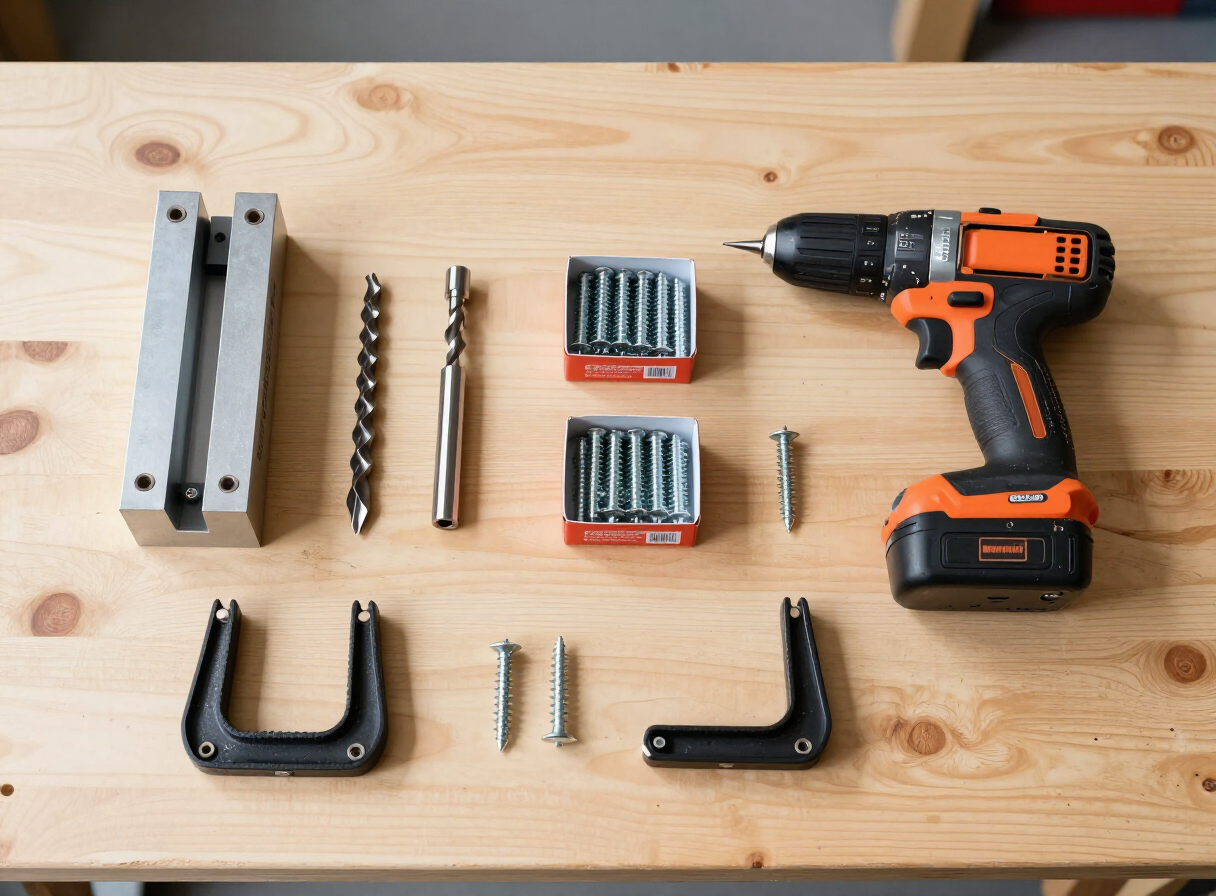
A basic setup generally includes a pocket hole jig, a compatible stepped drill bit, a drill, pocket screws, and clamps — most of which sit alongside the essential woodworking tools every beginner should own. More elaborate systems may include built-in clamping, dust collection, or repeat-positioning features.
It Can Reduce the Need for Complex Joinery
Some woodworking joints require precise grooves, mortises, tenons, or other carefully cut features. Pocket holes can simplify certain furniture projects because the connection can be made with drilled holes and screws. However, simplicity does not eliminate the need for accurate measuring, appropriate screw selection, and good assembly technique.
It Can Be Useful for Furniture Frames
Pocket holes are often used in face frames, cabinet construction, simple tables, and other projects where the holes can be placed on hidden surfaces — including many of the builds in our guide to building your first piece of DIY wooden furniture. They are particularly useful when you want a practical joint without extensive shaping.
Tools and Materials You Need
Before starting, assemble the correct tools and materials for your project.
Pocket Hole Jig
The jig holds the drill guide at the intended angle. Some jigs are designed for a narrow range of material thicknesses, while others offer more adjustment. Choose a jig that suits the material sizes and types you expect to use.
Stepped Drill Bit
Pocket hole systems commonly use a stepped drill bit that creates the hole geometry required by the jig and screw. Use the bit specified by the jig manufacturer. An ordinary drill bit may not create the correct shape.
Drill or Drill Driver
A compatible drill powers the bit. Use a suitable speed and follow the manufacturer’s recommendations. Excessive pressure or inappropriate settings can damage the bit or workpiece.
Pocket Screws
Pocket screws are designed for pocket hole joints. They are available in different lengths, thread styles, head shapes, and materials. Select screws compatible with the workpiece thickness and type of wood — our guide to choosing the right wood for DIY projects helps you match fasteners to the species you are using. Do not assume that all pocket screws are interchangeable.
Clamps
Clamps help hold the joint in position while the screw is driven. Without adequate clamping, the screw can pull the pieces out of alignment.
Measuring Tools
A tape measure, square, pencil, and reliable straightedge help you mark and check the workpieces.
Step 1: Choose the Right Joint
Pocket holes are useful for many frame and panel assemblies, but begin by considering the joint’s purpose.
A pocket hole joint may be suitable for a simple cabinet face frame or a hidden connection between two boards. It may be less appropriate where the joint must withstand substantial repeated movement, impact, or loads for which the connection has not been designed.
For outdoor furniture, structural components, or safety-critical projects, evaluate the complete design rather than assuming pocket screws alone provide sufficient strength.
Where appearance matters, consider whether the pocket holes will be hidden or whether they need to be filled with suitable plugs.
Step 2: Measure the Material Thickness
Correct setup begins with the actual thickness of the material. Do not rely solely on the nominal dimension printed on a lumber label.
Measure the board with a ruler, caliper, or other suitable measuring tool. Adjust the jig according to its manufacturer’s instructions.
The drill-bit collar, guide position, and screw length may all depend on the material thickness and the specific pocket hole system. If the jig is set incorrectly, the screw may emerge through the visible face, fail to engage the adjoining piece properly, or create a weak joint.
Step 3: Position the Jig
Place the jig securely on the workpiece or in its designated clamping position. Confirm that the workpiece is supported and that the drill guide aligns with the intended hole location.
If you are making multiple identical parts, establish a repeatable setup so that the holes are positioned consistently. Keep the pocket holes far enough from the end and edges to avoid unnecessary splitting or breakout, following the jig manufacturer’s guidance.
The correct location depends on the material, joint geometry, and screw system.
Step 4: Drill the Pocket Holes
Install the correct bit and set the depth according to the manufacturer’s instructions. Clamp the workpiece securely.
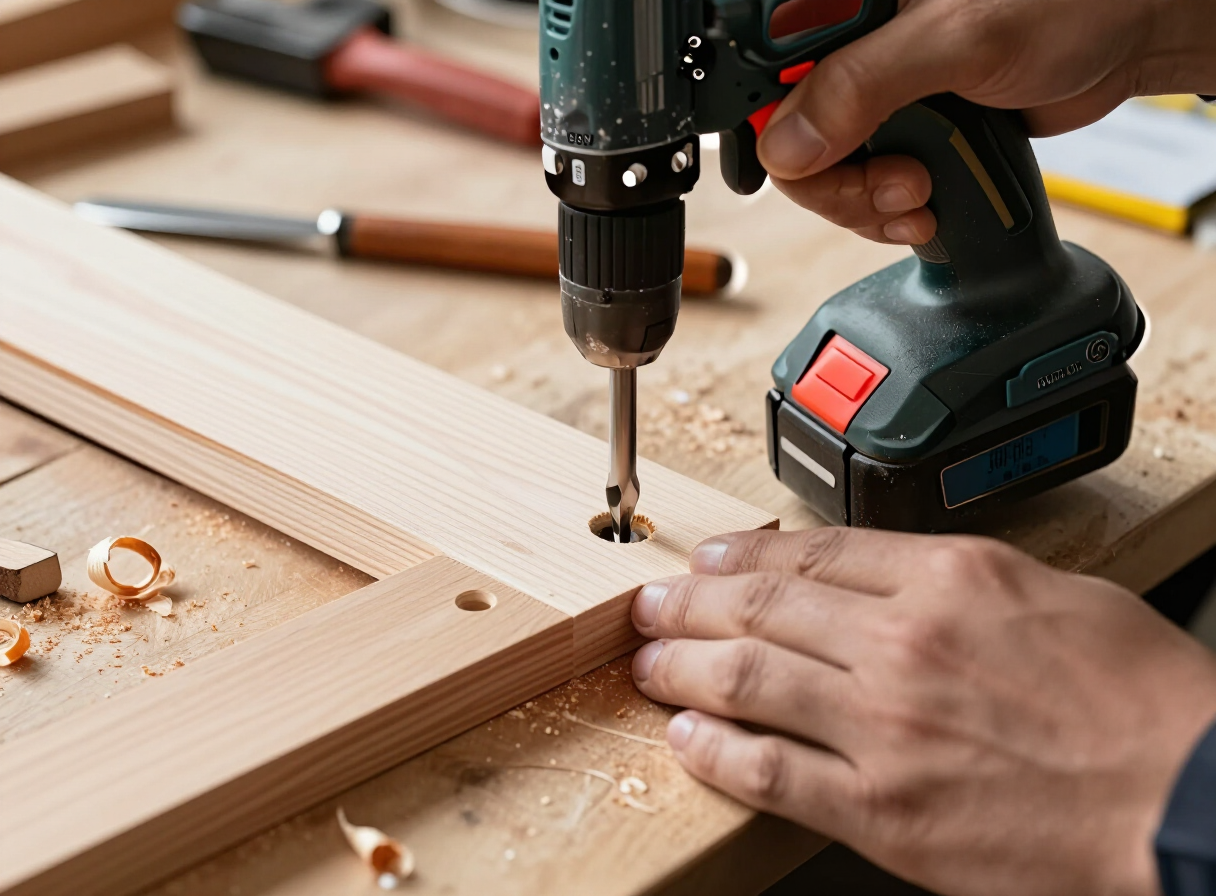
Start the drill and allow the bit to cut without forcing it excessively. Clear chips as required by the jig system and keep the drill aligned with the guide. Stop when the hole reaches the correct depth.
Inspect the result before drilling the remaining pieces. A properly drilled pocket hole should have the intended recessed shape and enough material remaining around it to support the connection.
If the hole is badly positioned or damaged, do not assume that driving a screw will solve the problem. Reassess the joint and replace or repair the workpiece where appropriate.
Step 5: Choose the Correct Screw
Pocket screws must match the thickness and type of material. Important factors include screw length, thread design, head geometry, and corrosion resistance.
Some screws are intended for hardwood, while others are designed for softer materials. Outdoor projects may require suitable corrosion-resistant fasteners, but the screw’s suitability must be evaluated alongside the rest of the design.
Use the screw recommendations provided by the jig manufacturer whenever possible. A screw that is too long can emerge through the opposite face. One that is too short may not provide adequate engagement.
Step 6: Align and Clamp the Joint
Position the workpieces exactly as required. Check the edges, corners, and reference marks.
Use clamps to keep the pieces aligned during fastening. For frame assemblies, a square or suitable assembly jig can help maintain the intended geometry. Before driving the screw, verify that the joint is not twisted or offset.
Clamping is particularly important when working with narrow boards or when the screw’s angled path could pull one component out of position.
Step 7: Drive the Screw
Place the screw in the pocket hole and use a compatible driver bit. Drive the screw steadily until the joint closes.
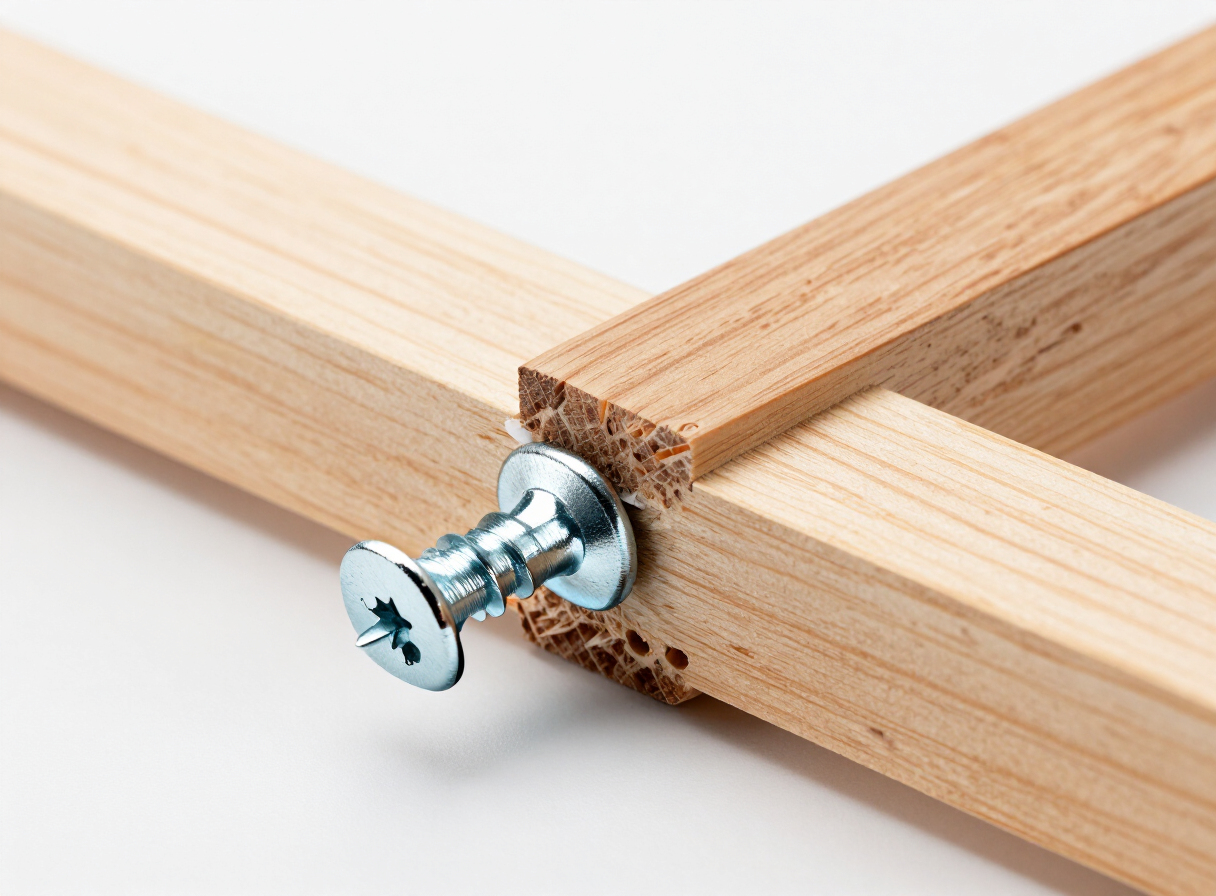
Avoid excessive torque, which can strip the hole, damage the screw head, or split the material. If the joint begins to separate or shift, stop and inspect it. The problem may be caused by inadequate clamping, incorrect screw length, unsuitable pilot geometry, or a poorly prepared workpiece.
After fastening, check that the joint is tight and correctly aligned.
Step 8: Inspect the Joint
Inspect both the visible surfaces and the pocket hole area. Check for gaps, splitting, stripped screws, or screws that have penetrated an unintended surface.
Test the assembly in a manner appropriate for the project before applying a finish or placing it in service. For furniture that supports people or heavy objects, a visual check alone is not proof that the joint is safe. The overall design, material quality, fasteners, and expected loads all matter.
Pocket Hole Joinery Versus Other Wood Joints
Pocket holes are one option among several common woodworking joints.
Butt Joints
A butt joint brings the ends or edges of two pieces together. It is simple to make, but its strength depends on the fasteners, adhesive, material, and geometry. Pocket screws can be used to help secure some butt joints, particularly in frames and cabinet components.
Dowel Joints
Dowel joints use wooden pins fitted into matching holes. They can provide concealed connections and help with alignment, but accurate hole placement is important.
Biscuit Joints
Biscuit joints use compressed wooden biscuits inserted into matching slots. They can help align components and are often used in panel or cabinet work. The appropriate use depends on the joint and expected loads.
Mortise-and-Tenon Joints
A mortise-and-tenon joint uses a projecting tenon that fits into a matching cavity. It is a traditional furniture joint that can provide excellent mechanical engagement when properly designed and executed. However, it generally requires more careful preparation than a basic pocket hole joint.
Dado Joints
A dado is a channel cut across the grain of a board to receive another component. Dado joints can be useful for shelves and cabinet construction when properly sized and positioned — the kind of joinery explained in our guide to building a DIY bookshelf.
The key lesson: no joint is automatically the strongest choice for every application. Choose a method that suits the design, materials, tools, appearance, and expected load.
Common Pocket Hole Mistakes
Many pocket hole problems share the same root causes as the common woodworking mistakes beginners should avoid. A few are specific to this technique.
Using the Wrong Screw Length
Incorrect screw length can result in poor engagement or a screw that emerges through the visible surface. Check the material thickness and manufacturer recommendations.
Skipping the Clamp
The screw can pull the workpieces out of position during tightening. Use an appropriate clamp and check the alignment before fastening.
Overdriving Screws
Too much torque can damage the material or strip the hole. Drive the screw until the joint closes without excessive force.
Drilling Too Close to an Edge
Poor positioning can cause splitting or breakout. Follow the jig’s recommended hole spacing and maintain sufficient material around the hole.
Assuming Pocket Holes Are Suitable for Everything
A pocket screw joint is not automatically appropriate for a heavy, moving, outdoor, or safety-critical application. Evaluate the complete design and use another joint where it better meets the requirements.
Ignoring Wood Movement
Solid wood changes dimensions with moisture conditions. For panels and wide components, design the assembly so that wood movement is accommodated rather than unnecessarily restrained.
How to Hide Pocket Holes
Pocket holes are often placed on surfaces that will not be visible during normal use. If a hole must be concealed, you may be able to use a compatible wooden plug or another finishing method designed for the pocket hole system.
The plug should fit properly and be finished to match the surrounding surface as closely as practical. However, filling a hole is not always the best option. On furniture where the visible face is important, it may be better to place the pocket hole on the reverse side or use a different joinery method.
Where Pocket Hole Joinery Works Well
Pocket holes are commonly useful for:
- Cabinet face frames
- Simple furniture frames
- Drawer components where the design permits
- Workbench structures designed for the intended loads
- Small storage units
- Certain table assemblies
- Hidden connections between boards
The suitability of each application depends on the specific joint, materials, dimensions, fasteners, and loads. For load-bearing or safety-critical projects, follow an established design appropriate to the application rather than improvising based solely on the convenience of pocket screws.
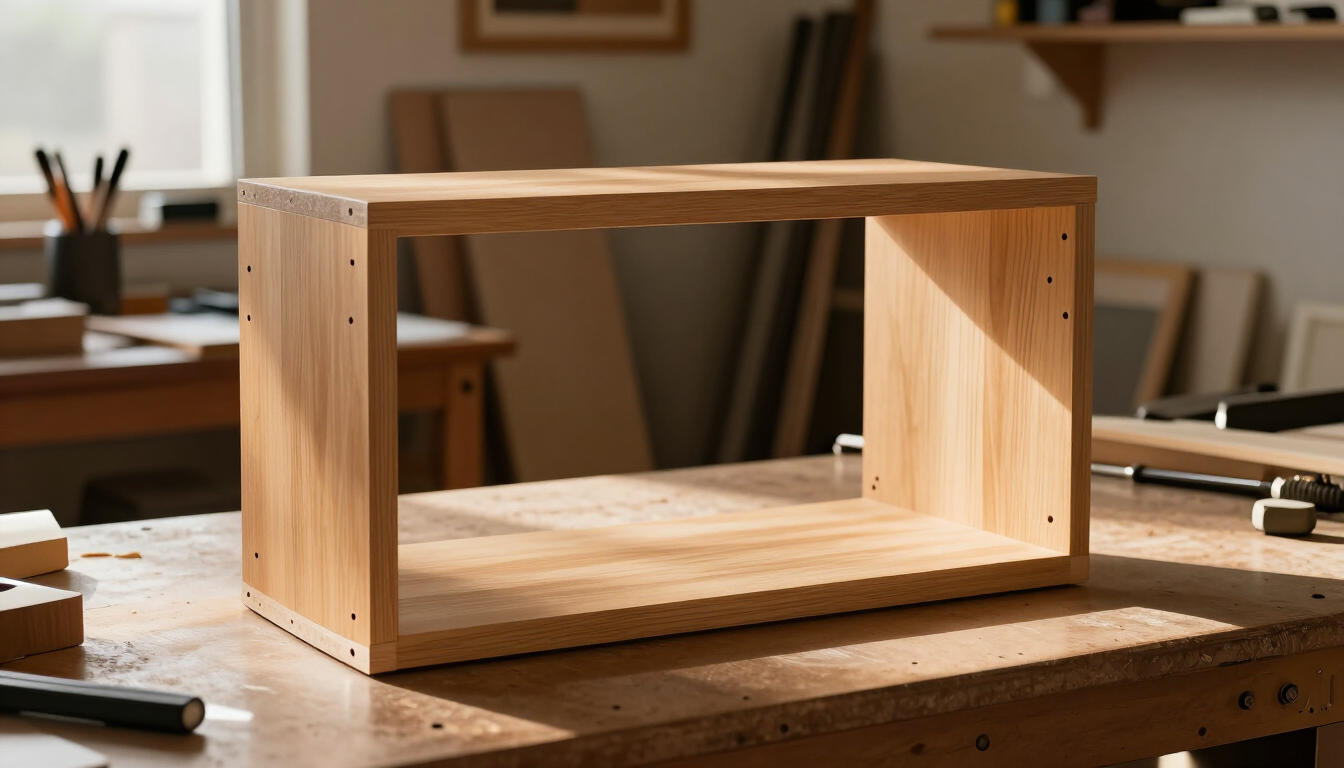
Using Woodworking Plans to Improve Your Results
A good woodworking plan can show where joints belong, how components fit together, and which measurements must remain accurate. This is particularly useful when a project includes repeated frame assemblies or multiple identical parts — and our complete guide to reading woodworking plans explains every section you will encounter.
Before following a plan, confirm that it specifies suitable materials, dimensions, and fasteners for your intended use.
If you would rather follow a proven plan than design your own, a large plan library such as Ted’s Woodworking includes furniture and cabinet plans among its 16,000+ step-by-step builds — giving you ready-made cut lists and joint diagrams so your pocket hole assemblies come together square and strong.
Affiliate disclosure: This is an affiliate link. If you purchase through it, we may earn a commission at no additional cost to you.
Frequently Asked Questions
Are pocket hole joints strong?
They can be suitable for many furniture and cabinet applications when properly designed and assembled. Strength depends on the materials, screw selection, joint geometry, workmanship, and expected loads.
Do pocket holes require glue?
Not every pocket hole joint requires glue. Whether to use adhesive depends on the joint design, material, and manufacturer’s guidance. Glue should not be treated as a substitute for suitable mechanical design.
Can I use ordinary screws in pocket holes?
Use screws designed for the pocket hole system whenever possible. Their head geometry and other characteristics are intended for the joint.
Can pocket holes be used in plywood?
Yes, pocket holes can be used in some plywood applications, but the material’s thickness, veneer construction, and screw selection matter. Test your setup on scrap material first.
Are pocket holes visible?
The holes can be visible unless positioned on hidden surfaces or filled with suitable plugs. Plan their placement before assembly.
Final Thoughts
Pocket hole joinery is a practical technique for many DIY woodworking projects. It can simplify construction and help beginners produce useful furniture without mastering every traditional joint immediately.
The best results come from accurate setup, correct screw selection, secure clamping, and careful inspection. Start with a small project, test your setup on scrap material, and learn how the joint behaves with the wood you plan to use. As your skills improve, combine pocket holes with other joinery methods to create more versatile and durable projects — and when you are ready to choose your next build, browse our woodworking plans guide or the full project library, or try one of these 15 easy beginner projects.