How to Build Outdoor Wooden Furniture That Lasts
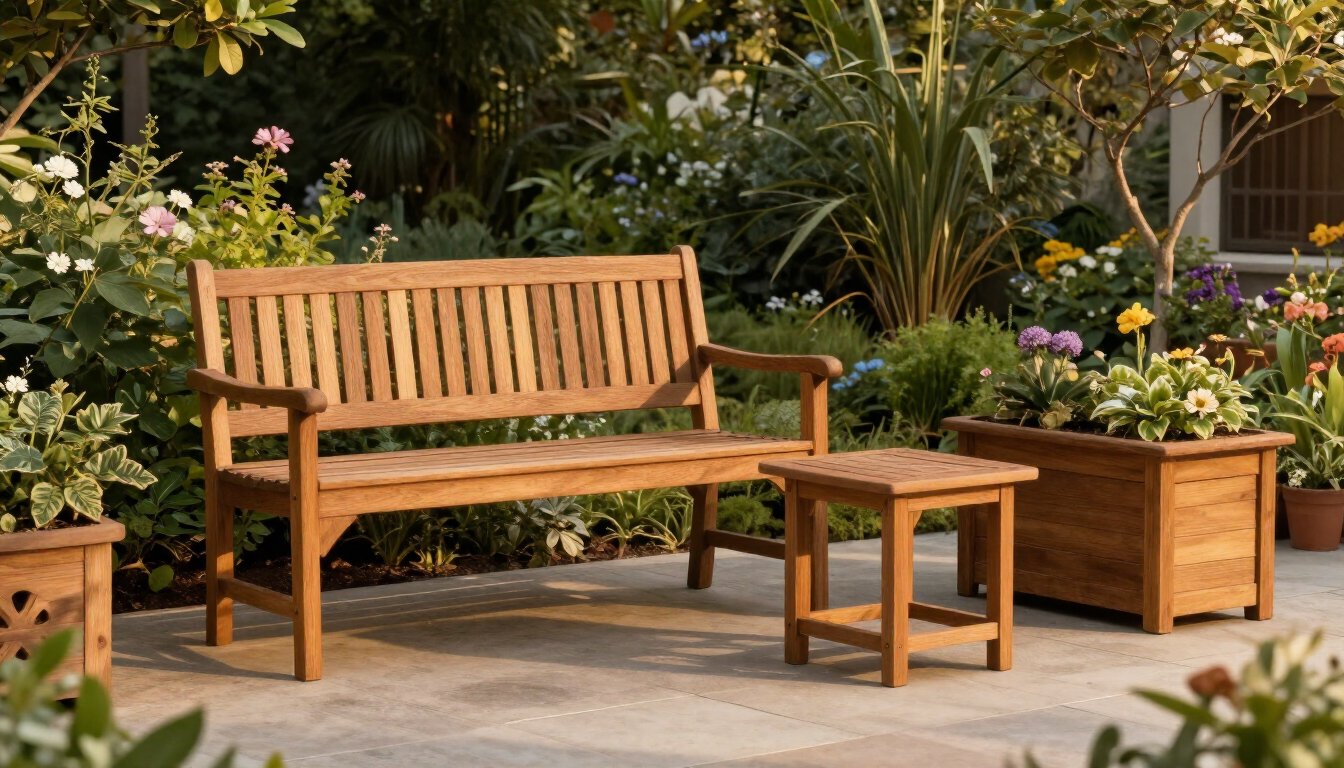
Outdoor wooden furniture can make a patio, garden, balcony, or backyard more comfortable and inviting. A simple bench provides a place to relax, a garden table creates a useful gathering area, and wooden planters can add warmth to an outdoor space.
However, outdoor furniture faces challenges that indoor furniture usually does not. Rain, humidity, sunlight, temperature changes, insects, and ground contact can gradually damage wood and weaken poorly designed joints.
The good news is that you can improve durability by making smart decisions before construction begins.
Choosing suitable materials, designing for drainage, using appropriate fasteners, and applying a compatible finish can help your project withstand outdoor conditions.
This guide explains how to plan, build, and maintain outdoor wooden furniture with durability in mind — a natural next step once you have gathered the essential woodworking tools every beginner should own.
Why Outdoor Woodworking Requires Different Planning
Wood is a natural material that responds to moisture.
When wood absorbs moisture, it can swell. As it dries, it can shrink. Repeated changes may contribute to checking, warping, joint movement, or finish failure.
Sunlight can also degrade exposed surfaces, while water that remains trapped in joints or against the ground can encourage deterioration.
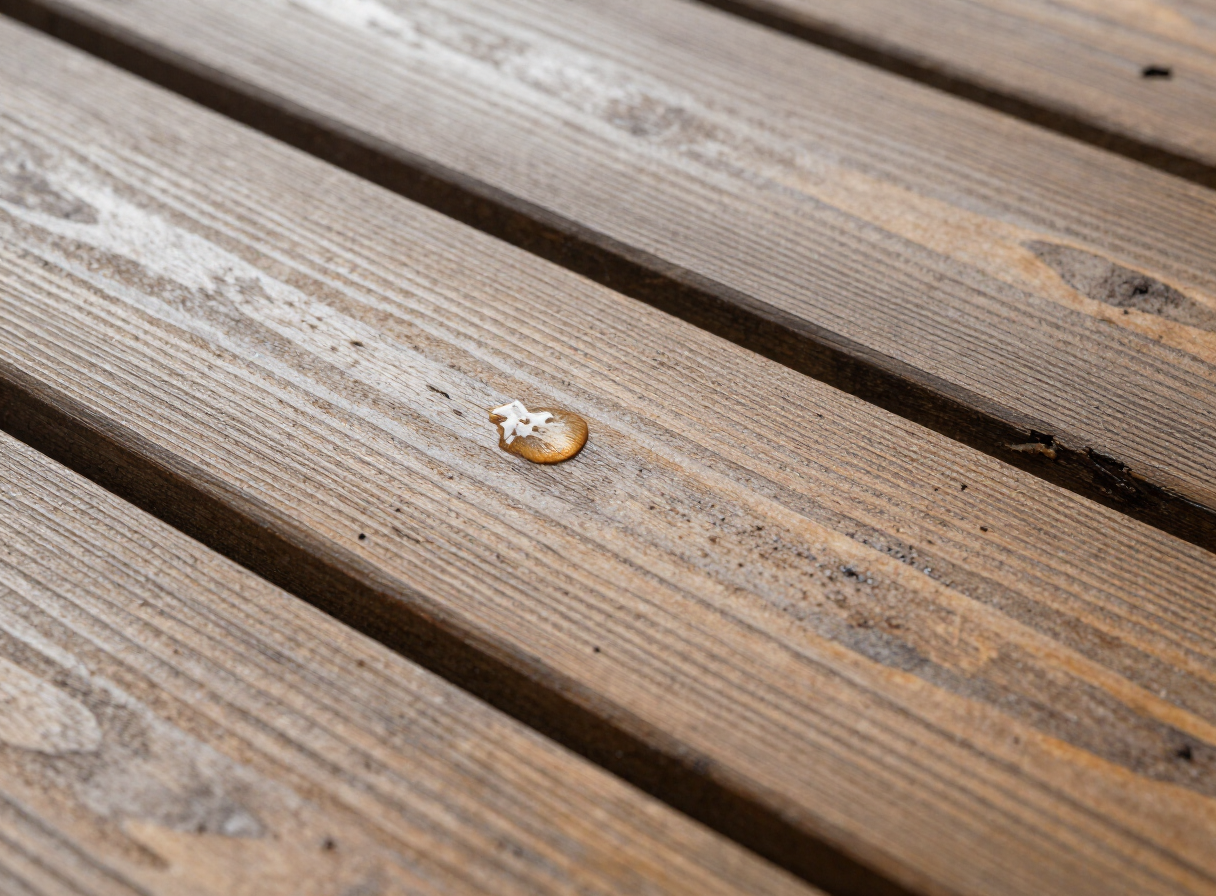
These conditions mean that outdoor furniture should be designed differently from furniture intended for a dry indoor environment. For example, a joint that works well on a bedroom table may not be suitable for a garden bench exposed to rain. Similarly, a finish that looks attractive indoors may not provide the protection needed outdoors.
Durability starts with the complete design rather than with a particular coating alone — the same principle behind our roundup of DIY backyard furniture projects.
Step 1: Choose the Right Outdoor Furniture Project
If you are a beginner, start with a relatively simple design. Suitable projects may include:
- A small garden bench
- A compact outdoor side table
- A basic planter stand
- A simple patio table
- A small storage unit designed for outdoor use
Choose a project that fits your available tools and experience. A planter stand is different from a bench because it does not need to support a person’s weight. A bench or chair requires greater attention to structural strength, stability, and joint design.
Do not adapt a decorative project into seating without redesigning and verifying its load-bearing components. Before purchasing materials, decide where the furniture will be placed and how much exposure it will receive. A covered patio may offer some protection, while an exposed garden area may experience frequent rain and direct sunlight — browse more outdoor project ideas before you commit to a build.
Step 2: Select Suitable Wood
Wood selection is one of the most important decisions in outdoor woodworking. Different species vary in natural durability, strength, stability, availability, price, and ease of working. The right choice depends on your local climate, budget, design, and the level of maintenance you are prepared to perform — our beginner guide to choosing the right wood for DIY projects compares the common options in more detail.
Naturally Durable Wood
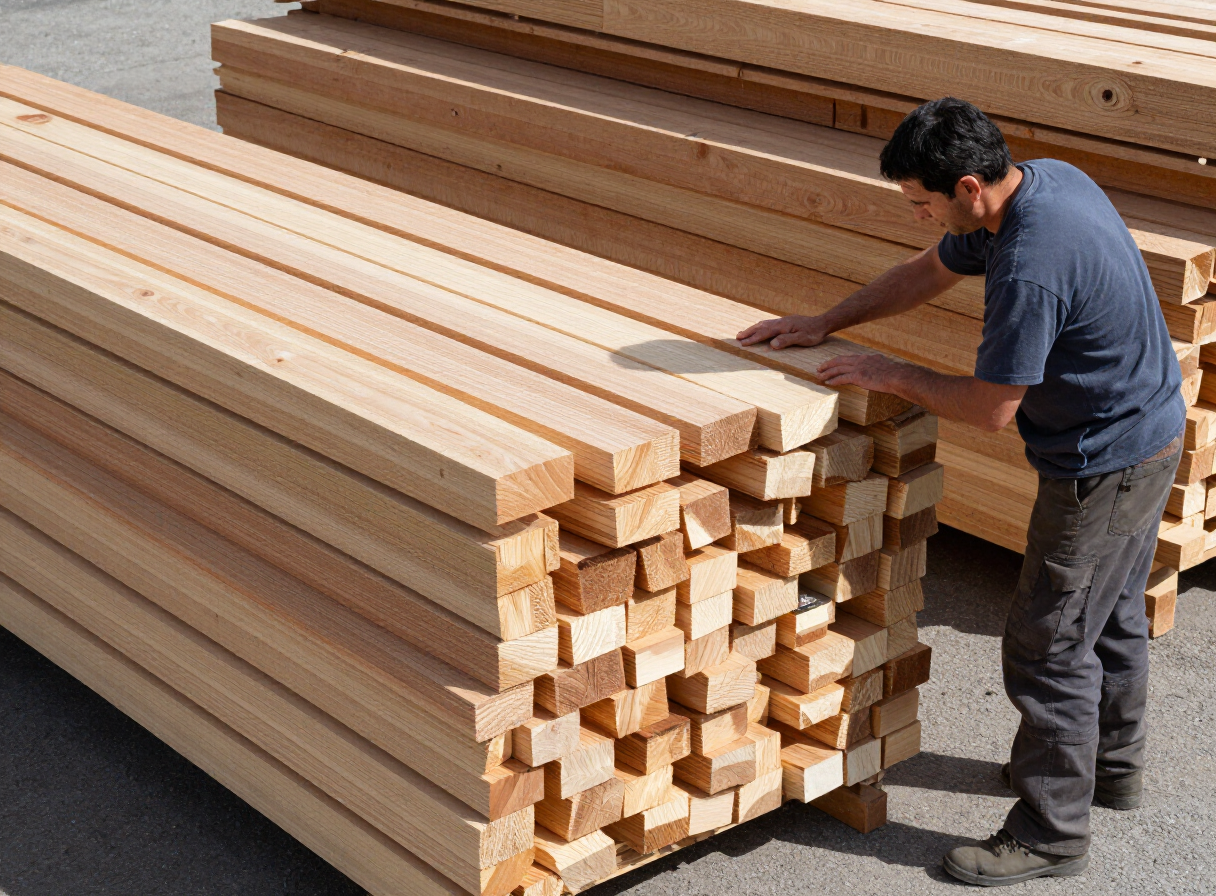
Some wood species have natural characteristics that make them more resistant to decay or insect damage. Examples can include certain cedar species and other naturally durable hardwoods, although performance varies by species, grade, and exposure. Naturally durable wood can be attractive, but it may cost more or be difficult to obtain in some regions. The Wood Database is a useful independent reference for comparing the durability and working properties of different species.
Pressure-Treated Lumber
Pressure-treated lumber is treated to improve resistance to certain forms of biological deterioration. It can be suitable for specific outdoor applications when used according to the manufacturer’s instructions. Not every treated product is intended for every application. Check the product label, handling instructions, fastener compatibility, and restrictions on use. Use appropriate protective equipment when cutting or sanding treated wood, and never burn treated offcuts.
Other Locally Available Lumber
In many places, the most practical choice may be a locally available wood species that performs well when properly designed, protected, and maintained. Ask a reputable supplier about its suitability for the intended exposure. Do not rely on a generic label such as “hardwood” to establish outdoor durability. Hardness alone does not determine resistance to decay or weather.
Step 3: Inspect and Prepare the Lumber
Before cutting, inspect the boards. Look for excessive warping, deep splits, loose knots, damage, or signs of decay.
For structural components, avoid defects that could compromise the intended load-bearing function. Check the moisture condition of the material where possible. Wood that is too wet for the intended construction may shrink significantly as it dries.
Store lumber off the ground, support it adequately, and protect it from direct rain while allowing suitable airflow. If boards need to acclimate to the local environment, give them time to do so before final sizing.
Step 4: Design for Drainage and Airflow
One of the simplest ways to improve outdoor durability is to avoid trapping water. Horizontal surfaces can collect rainwater, and narrow gaps may hold moisture long after the surrounding surface has dried.
Consider how water will move across and away from the furniture. For example:
- Design tabletops so that water does not collect unnecessarily.
- Avoid deep pockets that trap water.
- Leave appropriate airflow around slatted components.
- Keep end grain from sitting directly in standing water.
- Design joints so they can drain and dry.
- Avoid placing furniture legs in persistently wet soil.
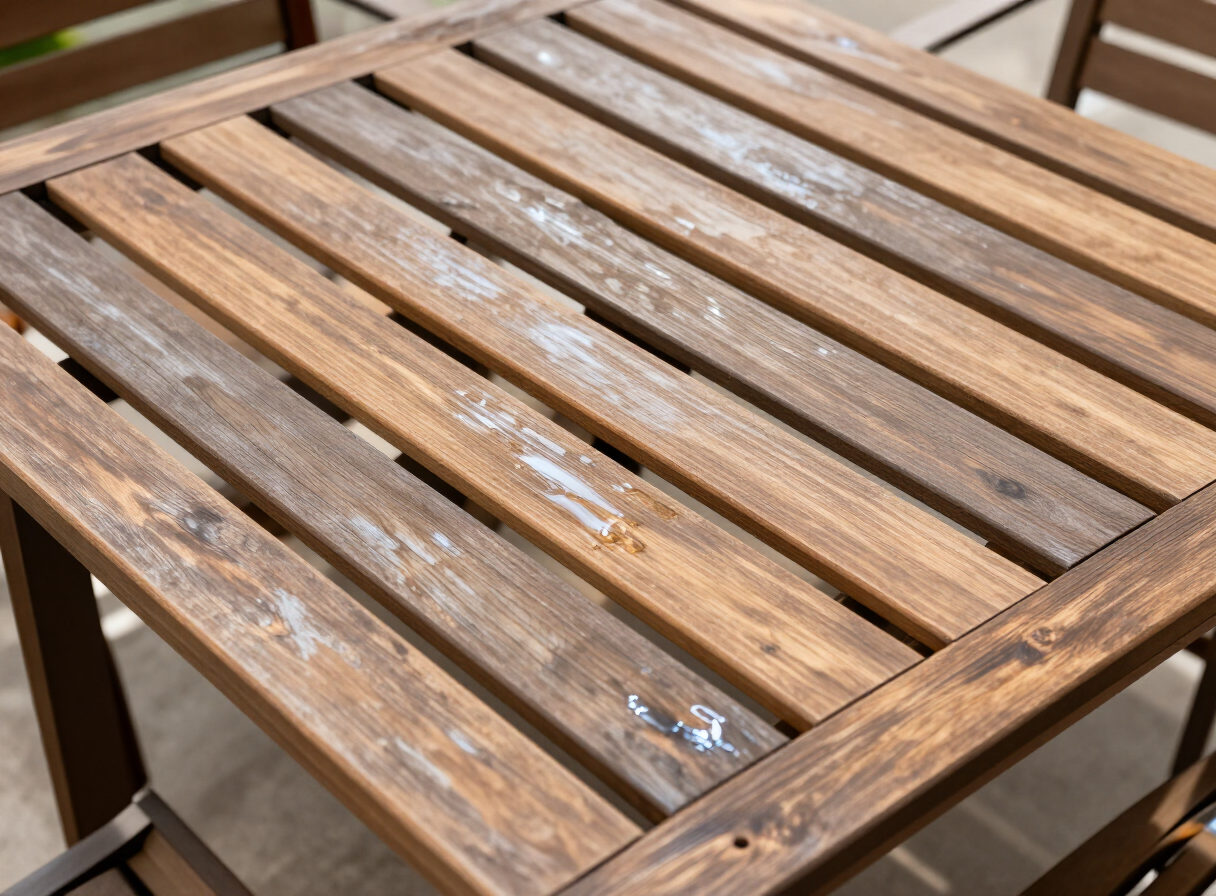
The exact details depend on the project. A slatted tabletop may allow water to drain, but the gaps must also suit the intended use. A surface used for food or small objects may require a different design from a decorative garden table. Drainage should be incorporated into the plan instead of added as an afterthought.
Step 5: Plan Strong, Durable Joinery
Outdoor furniture joints experience movement from moisture changes, regular use, and sometimes wind or accidental impacts. The appropriate joint depends on the type of furniture and the loads it must support.
Screwed Joints
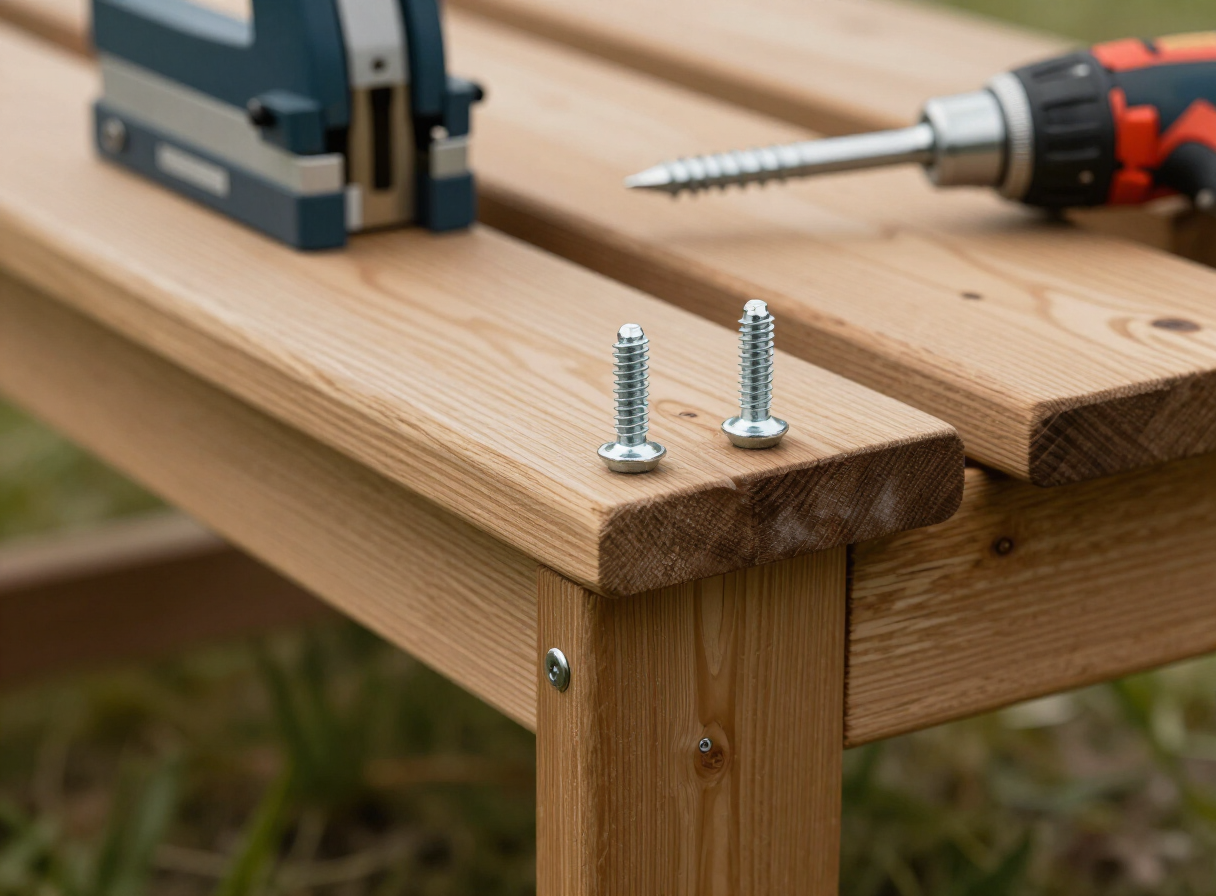
Screws can be useful for many outdoor woodworking projects when selected and installed correctly. Use fasteners suitable for the exposure and compatible with the wood and any treatment or finish. Depending on the environment, corrosion-resistant fasteners may be necessary.
Bolted Connections
Bolts can be appropriate for certain structural assemblies, including some benches and tables. Use suitable washers and hardware, and design the connection to resist loosening and local crushing of the wood.
Traditional Wood Joints
Mortise-and-tenon joints, lap joints, and other traditional techniques can be useful in furniture construction. Their suitability depends on the design, craftsmanship, and expected loading.
Pocket Hole Joints
Pocket holes may work in some outdoor furniture designs when the joint, screws, wood, and exposure are suitable. Our pocket hole joinery guide explains how the technique works and where it fits best. However, not every pocket screw is intended for outdoor use, and the joint must be evaluated as part of the complete structure. Do not assume that adding more screws automatically creates a stronger or more durable joint.
Step 6: Allow for Wood Movement
Wood expands and contracts as its moisture content changes. This movement can be particularly noticeable in wide solid-wood panels. If the design prevents movement that should be allowed, the wood may split, warp, or stress the joints.
For example, a wide solid-wood tabletop may require a fastening method that allows the panel to move across its width. The correct approach depends on the grain direction, board width, construction method, and expected moisture changes. Follow a reliable furniture design appropriate to the material instead of rigidly fastening every component without considering movement.
Step 7: Cut and Assemble Carefully
Once the plan is complete, prepare a cut list and confirm the dimensions before cutting. Mark the parts clearly and label matching components. Cut carefully and check that mating pieces fit as intended.
Before using adhesive or permanently tightening fasteners, dry-fit the assembly. Check that the furniture is square, stable, and free of unintended gaps. For a bench or chair, inspect the geometry and joint arrangement carefully. The structure must be suitable for the intended use and should not rely on decorative pieces to carry loads they were not designed to support.
Use clamps where appropriate and follow the manufacturer’s instructions for any adhesive. Some adhesives are intended for particular exposure conditions, so verify that the product is suitable for the planned outdoor application.
Step 8: Sand the Furniture
Sanding improves appearance and helps prepare the surface for finishing. Start with an abrasive appropriate to the condition of the wood. Progress to finer grits as needed, taking care not to round over edges that must fit accurately.
Smooth exposed edges to reduce splintering, especially on surfaces people may touch. Avoid sanding structural parts so aggressively that you reduce their dimensions or alter critical joint surfaces. After sanding, remove dust using a method appropriate to the finish you plan to apply — our guide on how to sand wood for a smooth finish walks through the full technique.
Step 9: Choose an Outdoor Finish
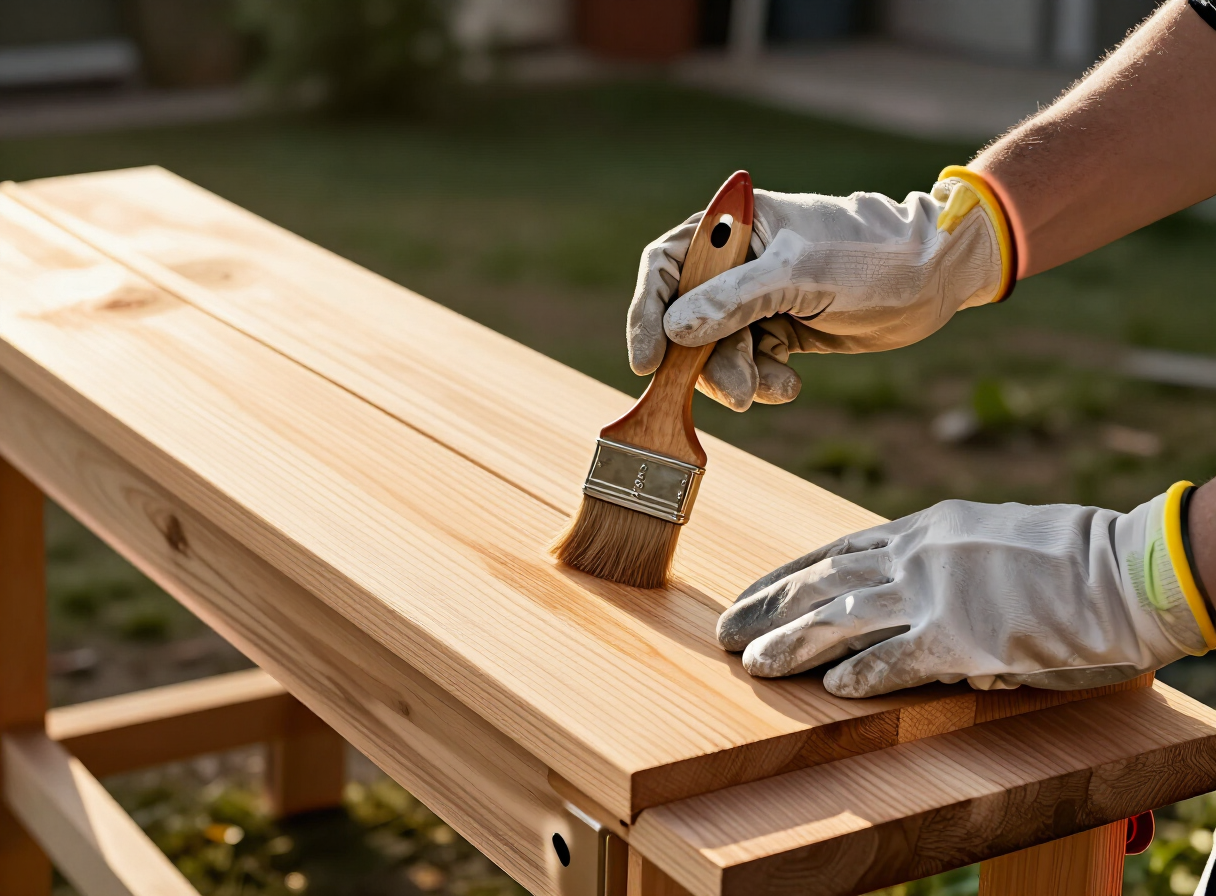
A suitable finish can help reduce moisture uptake, limit surface degradation, and improve appearance. However, no finish makes every wood species completely maintenance-free. The best product depends on the wood, desired appearance, exposure, and maintenance schedule.
Exterior Paint
Exterior paint can provide a consistent color and a protective surface when applied to a properly prepared substrate. Follow the product’s preparation and priming instructions. Pay attention to edges and end grain, which may require specific preparation.
Exterior Stain
Exterior stains are available in different formulations and levels of opacity. Some emphasize the grain, while others provide more color coverage. Choose a product intended for the relevant outdoor surface and exposure.
Exterior Clear Finishes
Clear exterior finishes may preserve more of the visible grain, but their performance depends on the formulation, sunlight exposure, and maintenance. Do not assume a clear coating will last as long as a heavily pigmented exterior coating. Fine Woodworking publishes in-depth, expert-reviewed guidance on choosing and applying exterior finishes.
Outdoor Oils
Some exterior oils are designed to penetrate the wood and help maintain its appearance. Their protective performance and maintenance requirements vary considerably. Always follow the manufacturer’s instructions rather than combining products without checking compatibility.
Step 10: Protect End Grain and Vulnerable Areas
End grain can absorb moisture differently from the long-grain surfaces of a board. It is often a vulnerable area in outdoor furniture, especially when exposed directly to rain or standing water.
Prepare and finish end grain according to the product manufacturer’s recommendations. Pay particular attention to the lower ends of legs, exposed cut edges, joints, and other areas where water may collect. If the design allows it, raise the furniture slightly above persistently wet surfaces and avoid burying ordinary furniture legs in soil. These details can make a significant difference to long-term performance.
Step 11: Allow the Finish to Cure
Drying and curing are not always the same thing. A surface may feel dry while the finish still needs additional time before it can withstand normal use.
Follow the product label for drying, recoating, curing, and weather-exposure requirements. Avoid placing the furniture in rain before the finish is ready. If the furniture will be used for dining, verify that the coating is suitable for the intended use and follow its instructions. Keep people and pets away from wet coatings, and provide the ventilation required by the product.
Step 12: Position the Furniture Correctly
Even well-built outdoor furniture can deteriorate prematurely if it remains in an unsuitable location. Where practical, position furniture so that it can dry between rain events.
Avoid placing wooden legs in standing water or directly against damp soil. Use a suitable protective covering when the furniture will remain unused for long periods, but make sure the covering does not trap moisture against the wood. For severe weather, consider moving lightweight furniture into a sheltered area. The goal is to reduce prolonged moisture exposure while maintaining airflow.
Step 13: Maintain the Furniture Regularly
Outdoor furniture needs periodic inspection and care. Check for:
- Loose fasteners
- Cracked or split components
- Unstable joints
- Peeling or failing finish
- Standing-water damage
- Signs of decay or insect activity
- Sharp edges or splinters
Clean the surface using a method suitable for the wood and finish. Tighten or replace fasteners when necessary, following the design requirements. Repair damaged finishes before deterioration spreads. Follow the coating manufacturer’s instructions when preparing and recoating the surface. If a structural component has deteriorated, do not simply cover it with paint. Assess whether it needs repair or replacement.
Common Outdoor Woodworking Mistakes
Choosing Wood by Price Alone
Cheap material may cost more over time if it is unsuitable for the environment or difficult to maintain. Consider the total cost of materials, construction, and upkeep — the same lesson in our guide to common woodworking mistakes beginners should avoid.
Trapping Water in the Design
Poor drainage can lead to persistent dampness and faster deterioration. Design the furniture so that exposed surfaces can drain and dry.
Using Indoor Hardware Outdoors
Fasteners and fittings that are unsuitable for the exposure may corrode or fail. Choose hardware appropriate for the wood, treatment, and local environment.
Applying Finish to a Poorly Prepared Surface
Dust, moisture, incompatible coatings, or unsuitable preparation can reduce finish performance. Follow the product instructions carefully.
Assuming All Joints Are Equally Strong
A joint suitable for a decorative stand may be inappropriate for a bench. Design the structure for its intended use and verify its stability.
Ignoring Maintenance
Even durable outdoor furniture benefits from inspection and timely maintenance. A simple maintenance schedule is often more effective than waiting until obvious damage appears.
Outdoor Furniture Projects to Try Next
Once you have experience with a simple project, consider expanding your skills. A compact garden bench introduces additional structural requirements. A patio table provides an opportunity to practice accurate frame construction. A planter stand can help you learn to design for drainage and moisture exposure.
You can also build matching pieces to create a coordinated outdoor collection — our 10 DIY backyard furniture projects roundup is full of starting points. For each project, prepare a separate plan and cut list. Do not assume that the construction details from one design will automatically work for another.
Using Woodworking Plans for Outdoor Projects
A detailed plan can help you organize measurements, material quantities, joinery, and assembly steps before purchasing supplies. For outdoor furniture, pay particular attention to the materials and fasteners specified in the plan. Check that the design accounts for the intended exposure and the loads the furniture must support.
If you would rather follow a proven plan than design your own, a large plan library such as Ted’s Woodworking includes outdoor furniture and garden project plans among its 16,000+ step-by-step builds — giving you ready-made cut lists, diagrams, and material schedules for furniture built to live outside.
Affiliate disclosure: This is an affiliate link. If you purchase through it, we may earn a commission at no additional cost to you.
Frequently Asked Questions
What is the best wood for outdoor furniture?
The best choice depends on local availability, natural durability, treatment, budget, and exposure. Some naturally durable species and appropriately treated lumber may be suitable when used according to their specifications.
How do I make outdoor wooden furniture last longer?
Use suitable wood, design for drainage, select compatible fasteners, allow for wood movement, apply an appropriate finish, and perform regular maintenance.
Does outdoor furniture need to be sealed?
A suitable finish may help protect the wood, but the correct product depends on the material and intended use. Some woods and designs can be used without a film-forming coating, although maintenance and appearance may differ.
Can I use ordinary screws for outdoor furniture?
Not all screws are suitable for outdoor exposure. Select fasteners compatible with the wood, treatment, and environment.
Should outdoor furniture be covered during the rainy season?
A suitable cover can help reduce direct exposure, but it should not trap moisture against the furniture. Ensure that air can circulate and that the furniture can dry.
Final Thoughts
Building outdoor wooden furniture is an excellent way to combine practical woodworking with improvements to your home and garden. The most durable results come from good planning, suitable materials, strong and appropriate joints, thoughtful drainage, and consistent maintenance.
Start with a simple design and learn how your chosen materials behave in your local environment. A well-designed piece of outdoor furniture does not depend on a single miracle product. It depends on making sensible decisions at every stage, from the first measurement to the final inspection — and when you are ready for your next build, browse our woodworking plans guide or the full project library.